


Pretty much anyone who’s ever grown magic mushrooms in a monotub or shoebox will be familiar with the concept of a liner. It helps prevent side pins—mushrooms that grow on the sides and bottom of the substrate.
Even though side pins aren’t necessarily a problem and are just as usable as mushrooms that grow on top of the substrate, many growers still prefer to avoid them. After all, side pins are harder to harvest and they make the tub look less appealing.
In this article, we’ll explain what a liner is and how you can easily make one yourself for your own grow project.
Table of Contents


What is a monotub liner?
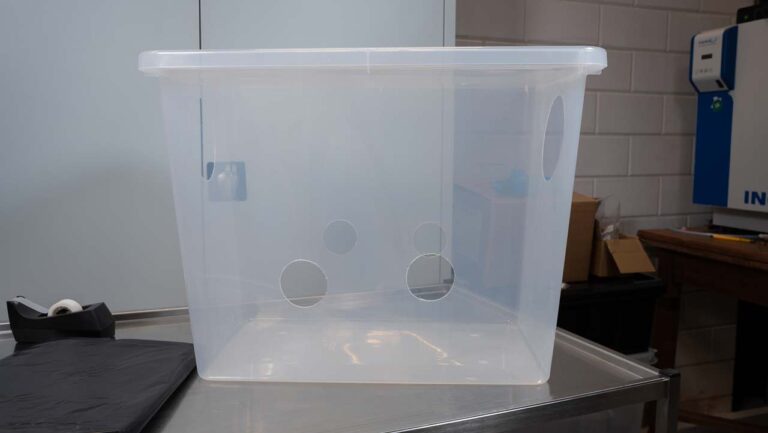
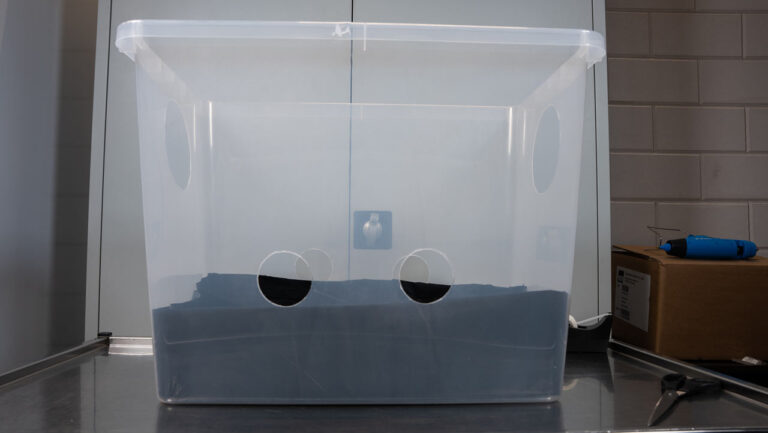
A liner is basically a plastic sheet—preferably dark and opaque—that you place inside a clear plastic tub. Among mushroom growers, such a tub is often referred to as a monotub or shoebox.
Once the liner is in place, the bulk substrate and mushroom spawn are added to the tub. Then the tub is placed in a warm spot until the bulk substrate is fully colonized.
By the time colonization is complete, you’ll see the mycelium has attached itself to the liner. This keeps the sides of the substrate sealed off from oxygen and light, which means mushrooms won’t grow there.
Even when the substrate starts to shrink due to water loss and the breakdown of organic material, the liner stays attached. That way, you prevent a microclimate from forming along the sides—an environment that would otherwise encourage mushroom growth.
How to make a monotub liner
Now that you know what a liner is for, you’re probably wondering how to make one yourself. Below we’ll walk you through the steps and show you what materials and tools you’ll need.
Supplies

- Liner material
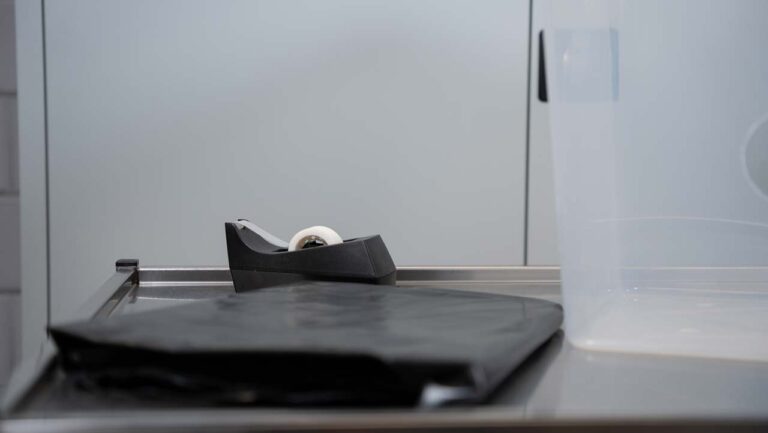
- Scissors
- Tape
- Monotub
Extra info on liner material
We personally prefer construction plastic or protective sheeting from the hardware store. This is a sturdy, dark plastic usually sold in different thicknesses, like 35 and 83 microns. The 83-micron version is our top pick.
If you can’t get your hands on that, you can also use a heavy-duty trash bag. Just make sure to avoid any liner material that lets in light, since light—like oxygen—is a pinning trigger for mycelium.
Steps
Once you’ve gathered your supplies, it’s time to make your monotub liner. Here’s a simple step-by-step guide.
1. Place liner material over the monotub
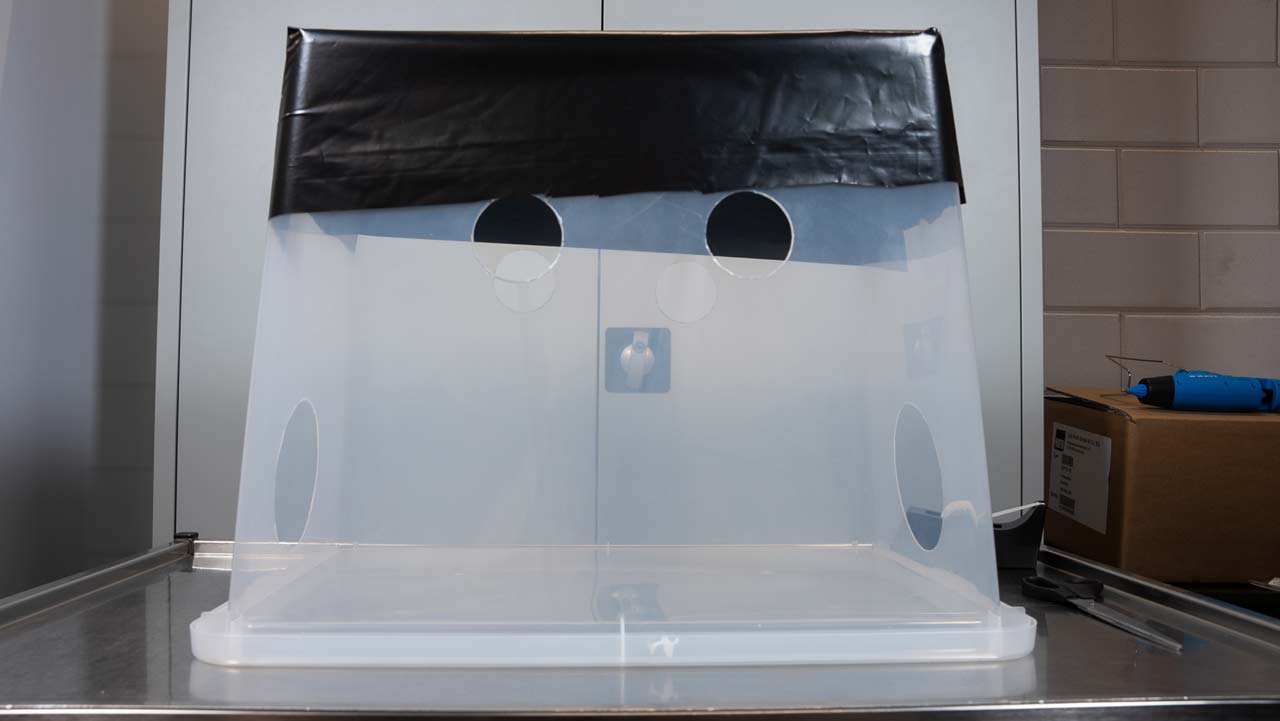
Find a suitable workspace and flip the monotub or shoebox upside down.
Cut out a piece of plastic in the right size. A good rule of thumb is to cut the liner so it reaches the air holes. If you’re using a shoebox (a tub without air holes), you can make the liner as high or low as you like.
If you’re using a trash bag, carefully cut it open until you’ve got a flat sheet of plastic.
Then position the liner material on top of the tub.

2. Fold the sides together
Pull the liner tight and fold it around the tub. The tighter it fits around the bottom, the better it will eventually sit inside the tub.
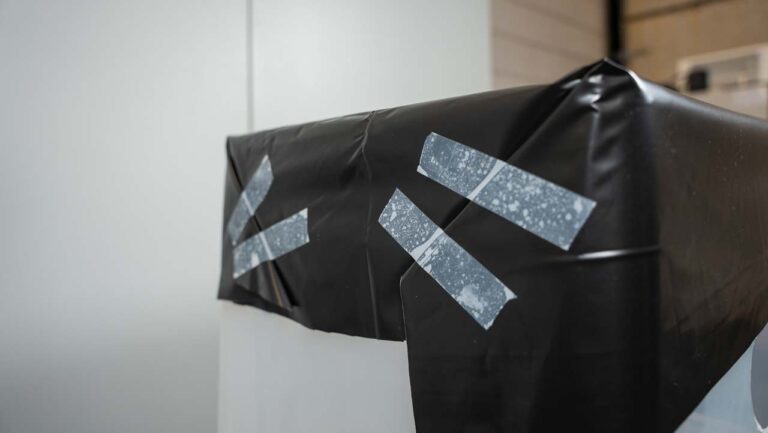
3. Tape both sides down
Tape both sides in place. Once the liner is wrapped tightly around the bottom of the tub, you can trim the edges horizontally if needed. Then remove the liner from the tub.

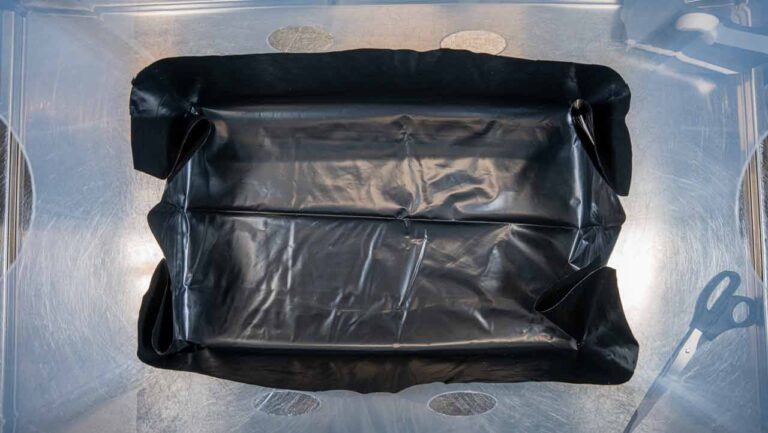
4. Place the liner inside the monotub or shoebox
Flip the tub upright and insert the liner. You’ll notice it doesn’t stick perfectly to the walls of the tub. That’s because we made it based on the outer dimensions of the bottom of the tub.
But don’t worry—this won’t affect how it works.
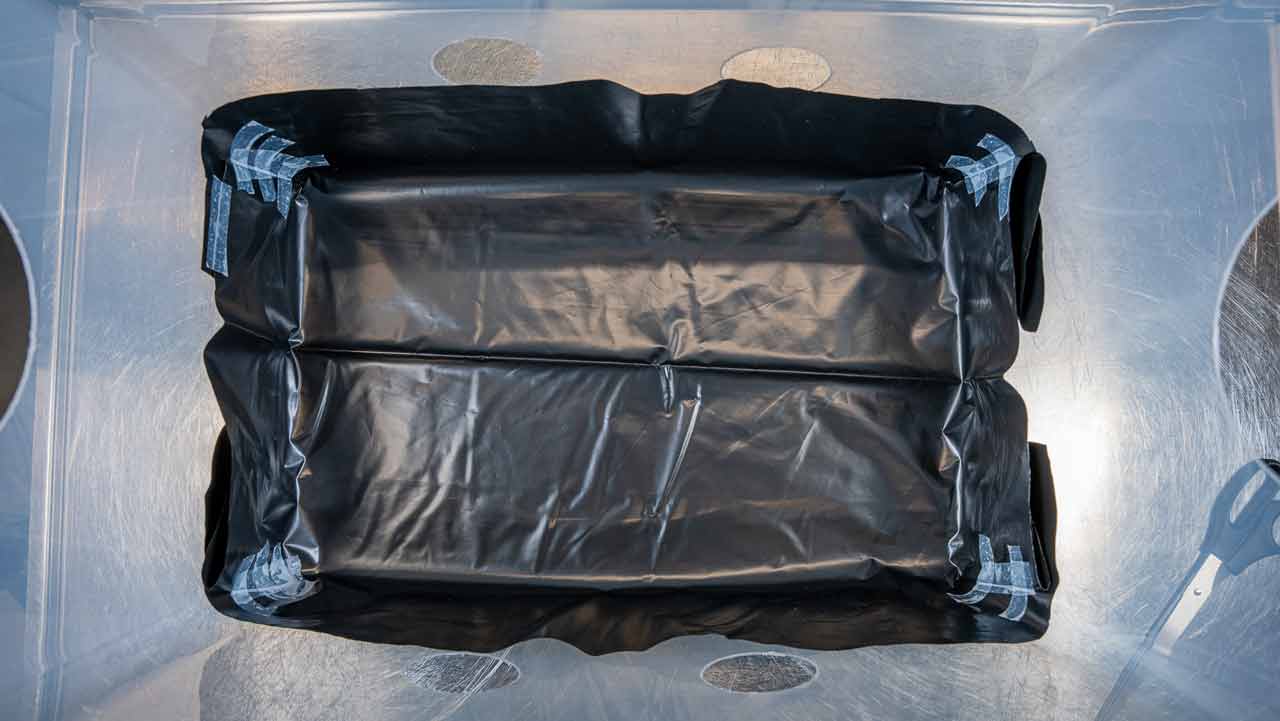
5. Tape down the loose plastic corners
Finally, tape down the loose plastic flaps in the corners of the liner. That way you can fill the liner neatly with substrate without too much getting stuck between the liner and the tub. Your liner is now ready to go!
Liner done? Time to start your grow!
Now that your liner is ready, it’s time to move on to the next step in your grow project. Make your own mushroom spawn or prep some CVG bulk substrate. Got those ready already? Then you can go ahead and start growing mushrooms in your monotub. Have fun and good luck!