


Coir Verm Gypsum (CVG) might just be the most popular bulk substrate for growing magic mushrooms. It’s cheap, easy to make, and delivers consistent, solid results. In this article, we take a closer look at this specific substrate and explain how you can make it yourself.
Table of Contents
What is CVG bulk substrate?
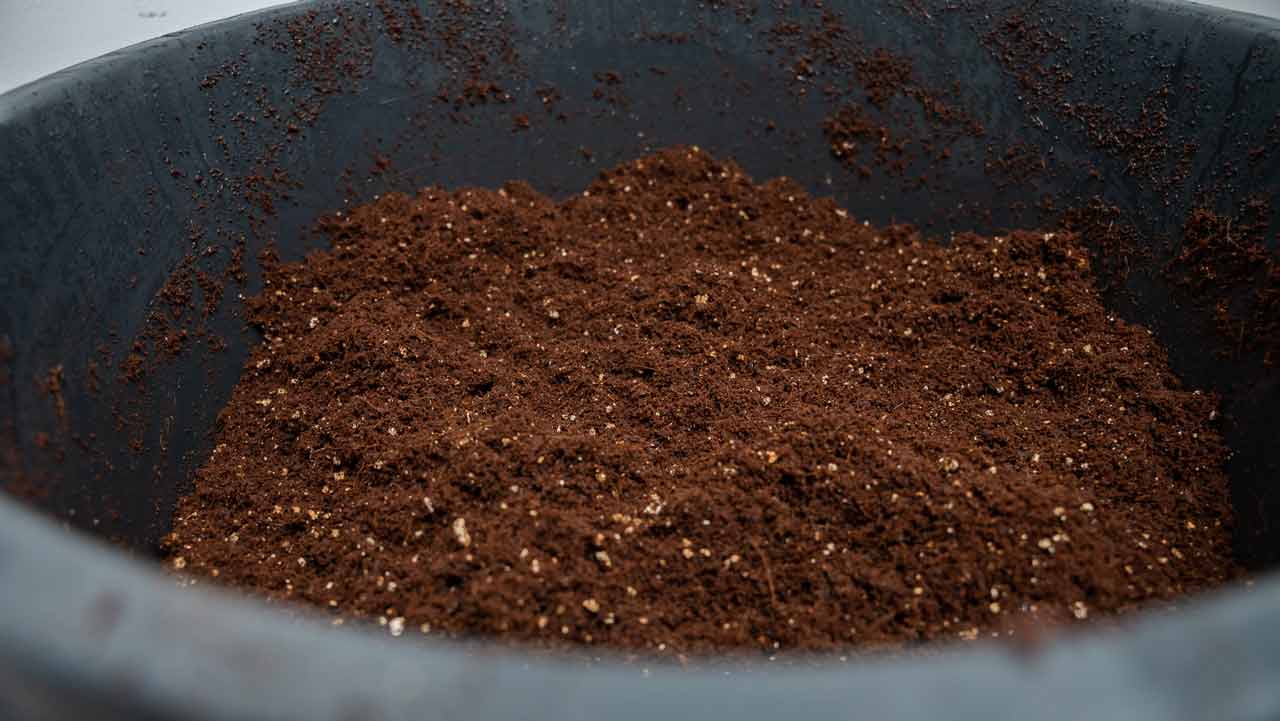
When we talk about bulk substrate, we mean a mix with a specific composition, plenty of mass, and large volume. CVG is one such mix and consists of coco coir, vermiculite, and gypsum. The addition of gypsum is optional and can be used to make the substrate more airy and help stabilize the pH level.
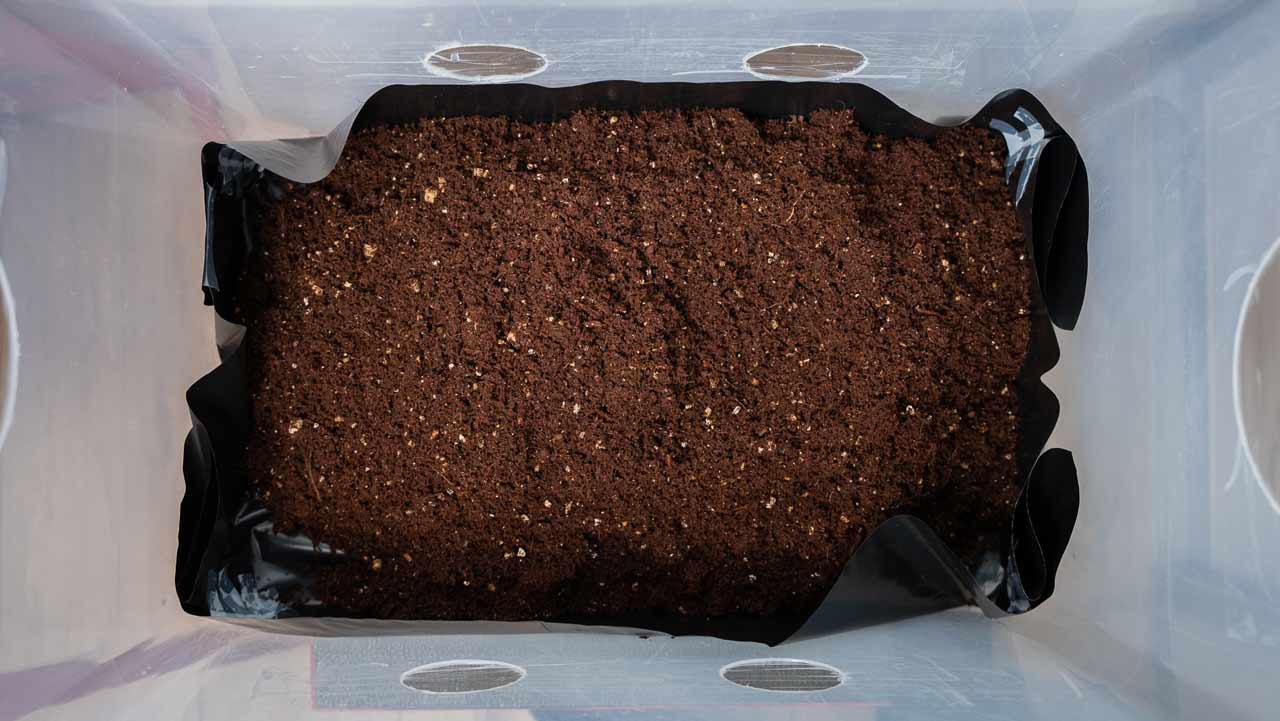
What is the function of bulk substrate?
The function of a bulk substrate is to increase yield. In mushroom cultivation, the dry weight of the substrate is directly linked to the final harvest. This link is often expressed as a percentage and is known as “biological efficiency.”
How do you prepare CVG bulk substrate?
Below we explain our favorite way to make your own CVG—and what you’ll need to do it.
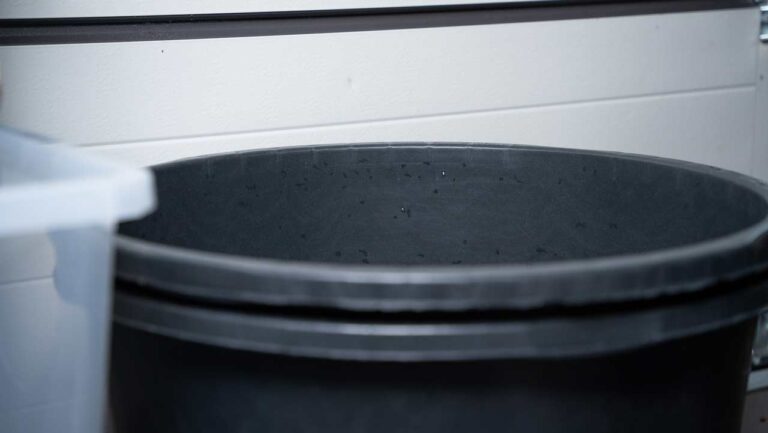
We needed about 30 liters of substrate and used large mortar tubs to prepare it. Need less substrate? Then it makes sense to use a smaller bin, bucket, or cooler.
Another option is to hydrate and “pasteurize” the substrate directly in a monotub or shoebox.
Supplies
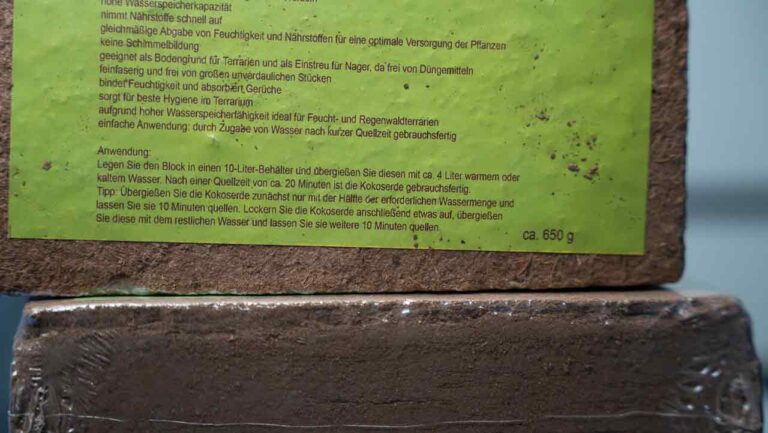
Essential
- Lidded bin or bucket
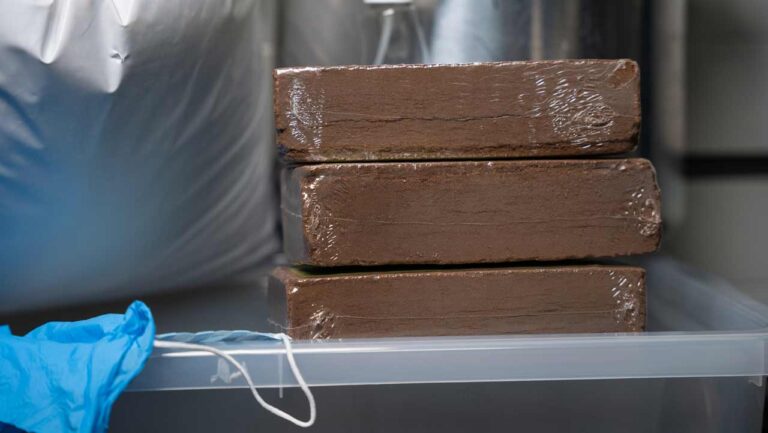
- Coco coir blocks
- Vermiculite
- Pan
- Water
Optional
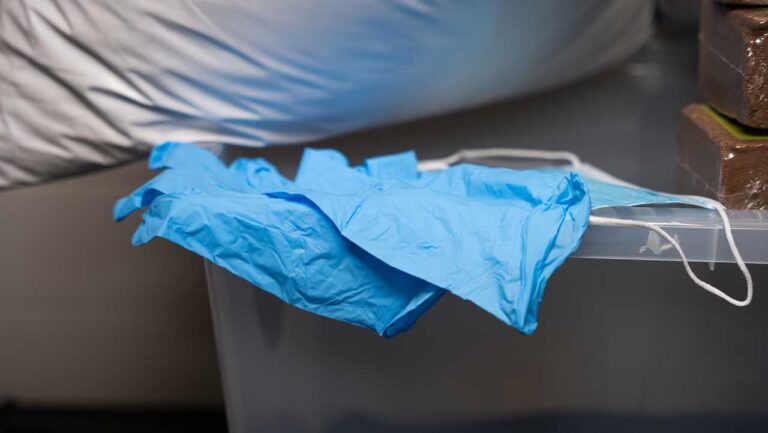
- Nitrile gloves
- Face mask
Steps
Got all your supplies together? Then it’s time to follow the steps below. Follow them carefully and discover how to make the perfect CVG substrate!
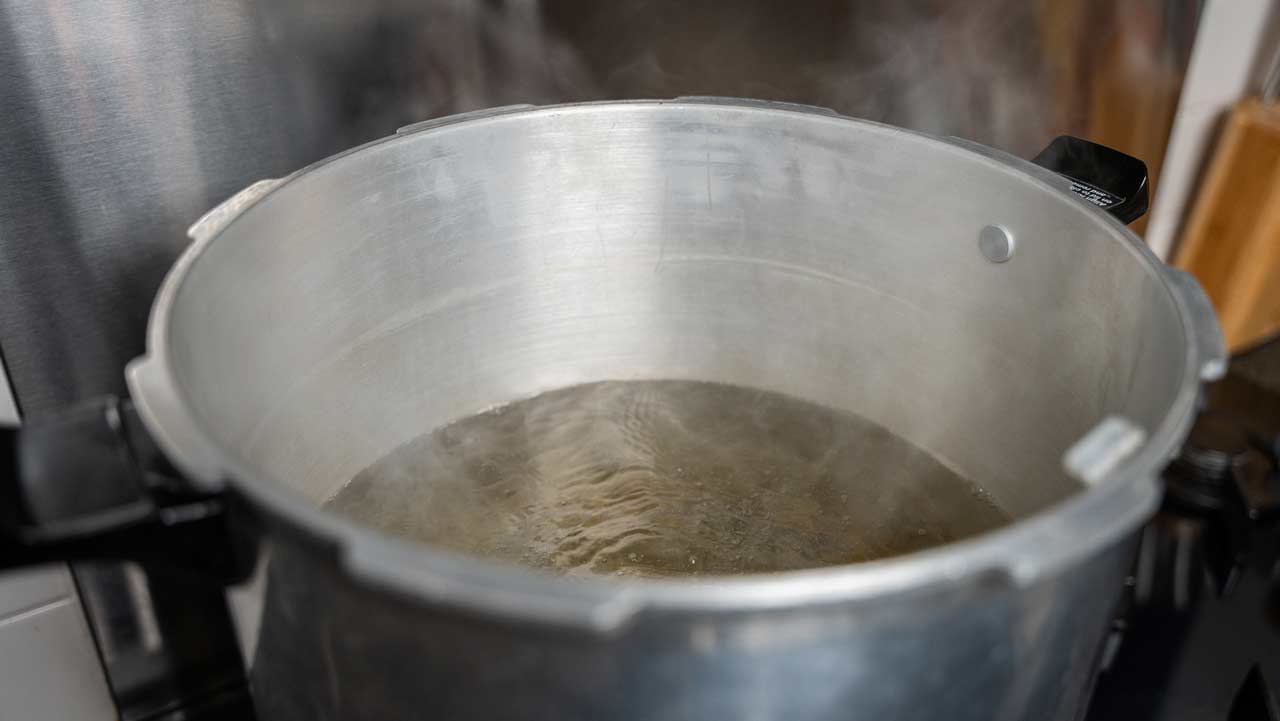
1. Boil water
Start by measuring out the right amount of water. We usually use 3 to 3.5 liters of water per coco coir block. That’s often less than what the manufacturer recommends on the packaging. By using less water, you avoid ending up with overly wet substrate.
We use boiling water because it’s a simple and affordable way to “pasteurize” the substrate. While it’s not true pasteurization, this method generally works just fine for coco coir, since it’s an inert material.
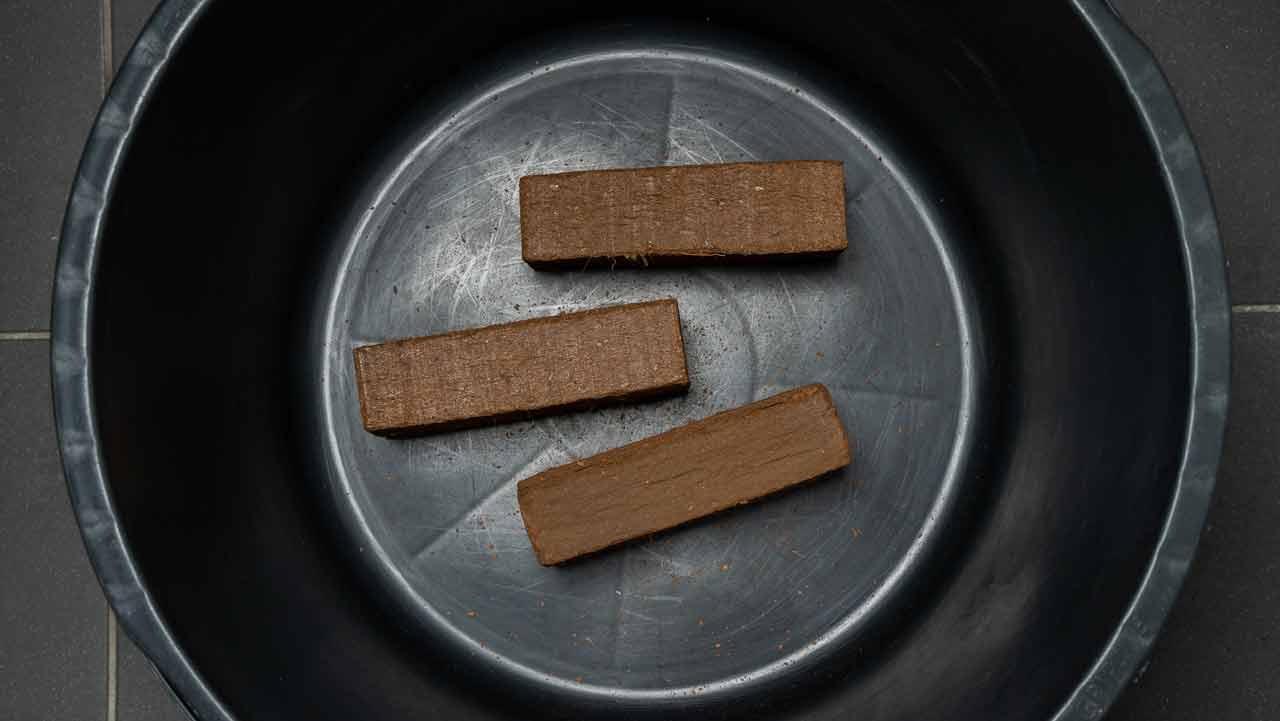
2. Place coco coir blocks in the bucket or bin
Place the coco coir blocks in a bucket or bin. Keep in mind that the combination of coconut fiber and boiling water gives off a strong smell. So, choose a good spot in your home to avoid making your living space smell unpleasant.
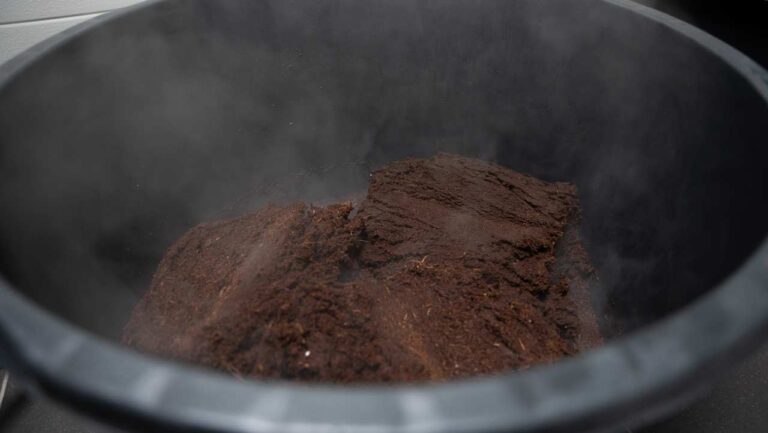
3. Add water and cover
Now pour the boiling water over the coco coir block (or blocks, if you’re using more than one). You’ll see them absorb the water quickly and expand in volume.
After adding the water, it’s best to cover the bin or bucket as quickly as possible. This helps trap the heat and steam, which promotes the “pasteurization” of the substrate.
Remove the lid after about 15 to 30 minutes and break up the substrate using a disinfected spoon or spatula. Then place the lid back on and let it sit for several hours, until the substrate has cooled to room temperature.

4. Check coco coir texture and field capacity
Remove the lid after a few hours—or even better, the next morning. Check whether the texture of the coco coir is fine and even, without big clumps or chunks. Break up any coarse parts and mix them well into the rest of the substrate.
Next, check whether the substrate’s field capacity is on point—this is crucial. The substrate should hold plenty of moisture while still staying fluffy and airy.
Squeeze the substrate firmly; a small trickle of water should come out. In the example below, just a bit too much water is coming out. In the next step, we’ll show you how to fix that.


5. Add vermiculite and optional gypsum
You can fix excess moisture in your substrate by adding vermiculite. Add small amounts at a time and test the field capacity after each addition until you reach the perfect balance.
This is also the right moment to add gypsum—if you’re choosing to use it.

6. Check field capacity again
After adding vermiculite and gypsum, it’s smart to test the field capacity one more time. These additions can make the substrate a little too dry.
If that’s the case, add a small amount of water to make up for it. But be careful—you don’t want the substrate to become too wet again.
Have you completed all the steps? Then your homemade CVG bulk substrate is ready to use!
My CVG bulk substrate is ready—now what?
If your substrate has the right moisture level, it’s time to move on to the next phase. For extra peace of mind, you can choose to sterilize the substrate in jars or bags. This extra step reduces the risk of contamination but is also more labor-intensive.
However, since the substrate has already undergone a basic form of pasteurization, you can also mix it directly in a monotub or shoebox with mushroom spawn. With the right spawn-to-substrate ratio, successful colonization by the mycelium usually follows.
Want to learn more about that? Check out our article on growing mushrooms in a monotub.