In this article, we’ll cover a widely used technique among spawn producers and home growers: grain-to-grain transfers, also known as G2G transfers. This method for making mushroom spawn is based on a simple principle and, when done under the right conditions, it’s a surefire success. Read on to find out more.
Table of Contents
Grain-to-grain transfers: what are they?
Grain-to-grain transfers are pretty self-explanatory. With this technique, you transfer colonized grains to sterile grains. The goal is to rapidly expand your spawn supply so you can inoculate more bulk substrate later. If conditions are right, the new spawn will be fully colonized and ready to use within 1 to 2 weeks.
What are the pros and cons of G2G transfers?
Pros
Cons
✅ Fast colonization
❌ Laminar flow hood required
✅ Requires hardly any extra materials
❌ Limited number of transfers possible
✅ Simple and inexpensive
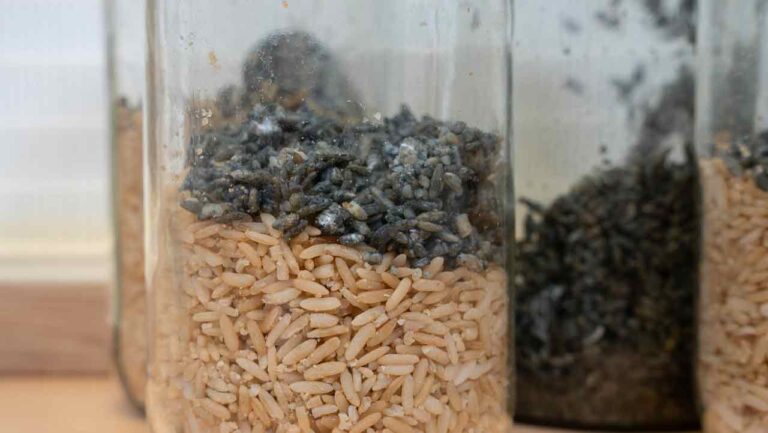
Colonized rice added to sterile rice
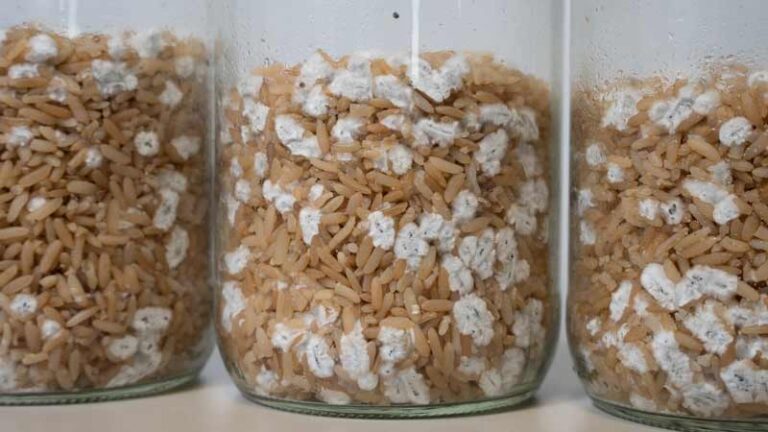
Colonization after G2G transfer
How do you perform grain-to-grain transfers?
To perform grain-to-grain transfers, you’ll need a few essential items. Alongside colonized spawn and sterile grains, a flow hood or still air box (SAB) is a must. Since you’re working with sterile grains, the risk of contamination without these tools is pretty high.
Being well-prepared is key to making sure every step goes smoothly. If you follow the process properly, you’ll end up with an efficient and simple way to expand your mushroom spawn. Read on to learn more about what you’ll need and how to do it.
Supplies
Colonized spawn
Jars or spawn bags with sterilized grains
Flow hood or still air box (SAB)
Nitrile gloves
Disinfectant or 70 % isopropyl alcohol
Alcohol wipes or tissues
Marker to label your jars or bags
Incubator or warm space
Steps
Once you’ve gathered everything, you’re ready to get started with your G2G transfers. Just follow the steps below.
1. Turn on your flow hood and prep your spawn
Start by running your flow hood for about 30 minutes. This helps clear the air in your workspace of contaminants. In the meantime, get your colonized spawn and containers with sterilized grains ready.
Spawn and sterilized brown rice
2. Break up the spawn
Break up the mushroom spawn well so you can easily shake the grains out of the jar or bag later. The fewer big clumps of mycelium remain, the better—it’ll help the colonized and uncolonized grains mix more evenly.
Be careful when breaking up spawn inside jars. It might be tempting to hit the jar against your hand or a towel, but keep in mind that jars can break. For your safety, we recommend wearing protective gloves during this step.
Breaking up mushroom spawn
Broken-up spawn and sterile rice
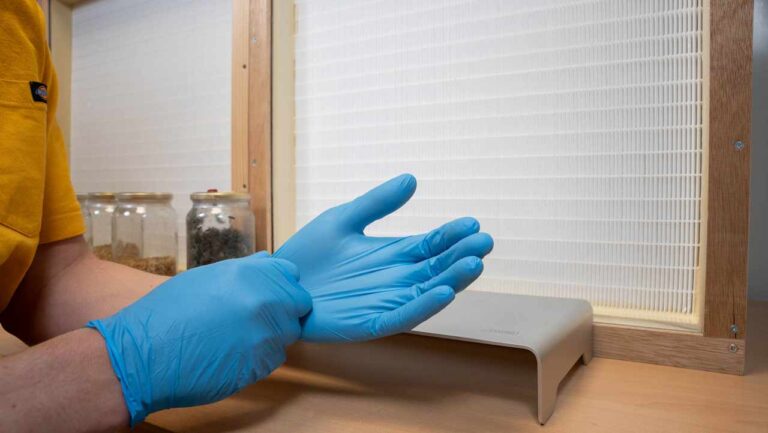
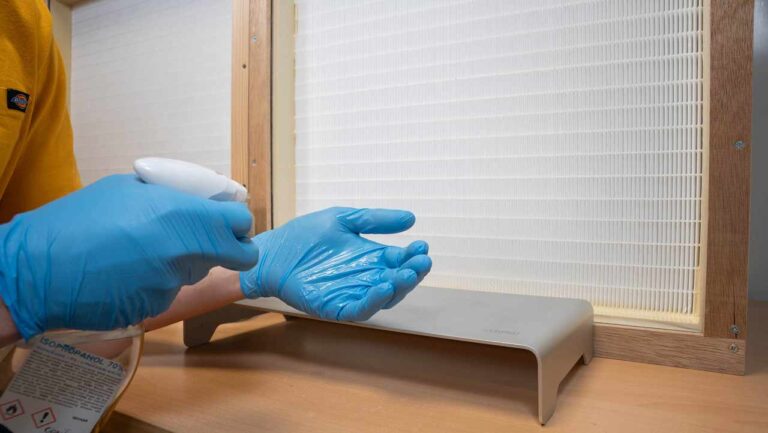
3. Put on nitrile gloves and disinfect them
Put on your nitrile gloves and disinfect them using alcohol or another disinfectant. Then wipe down the spawn jars and lids with alcohol wipes or tissues soaked in alcohol.
Putting on nitrile gloves
Hand disinfection
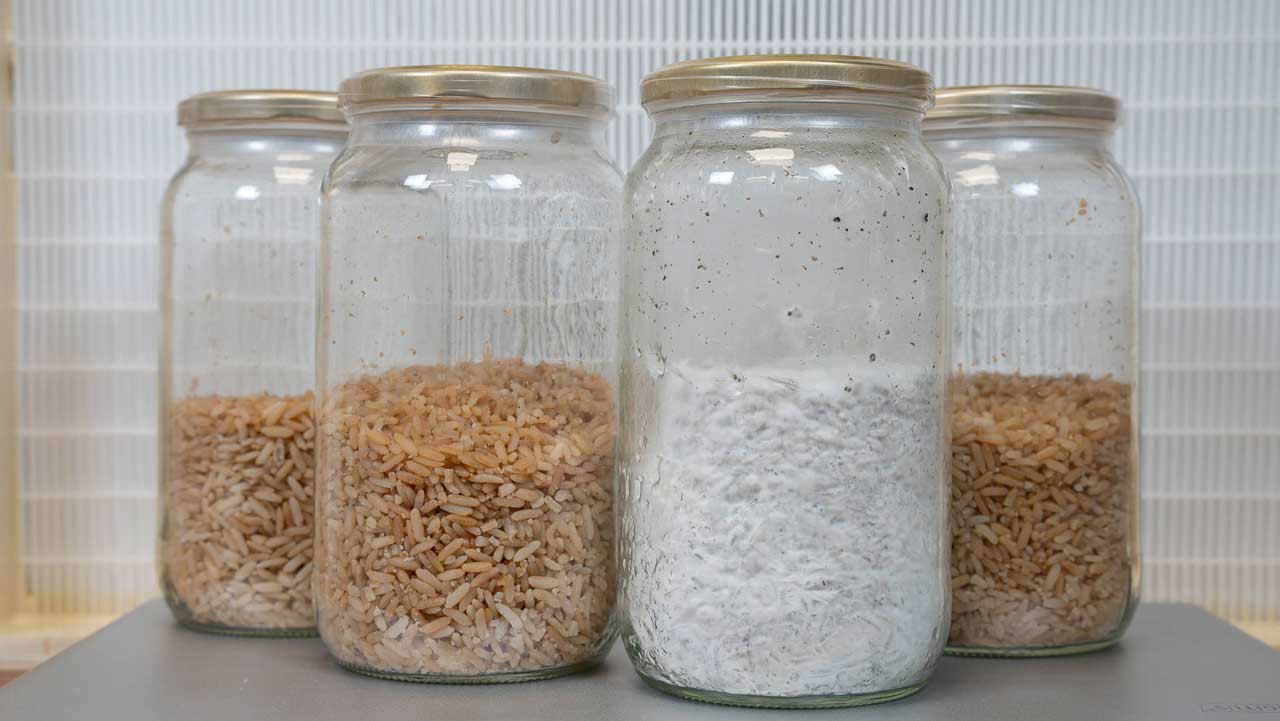
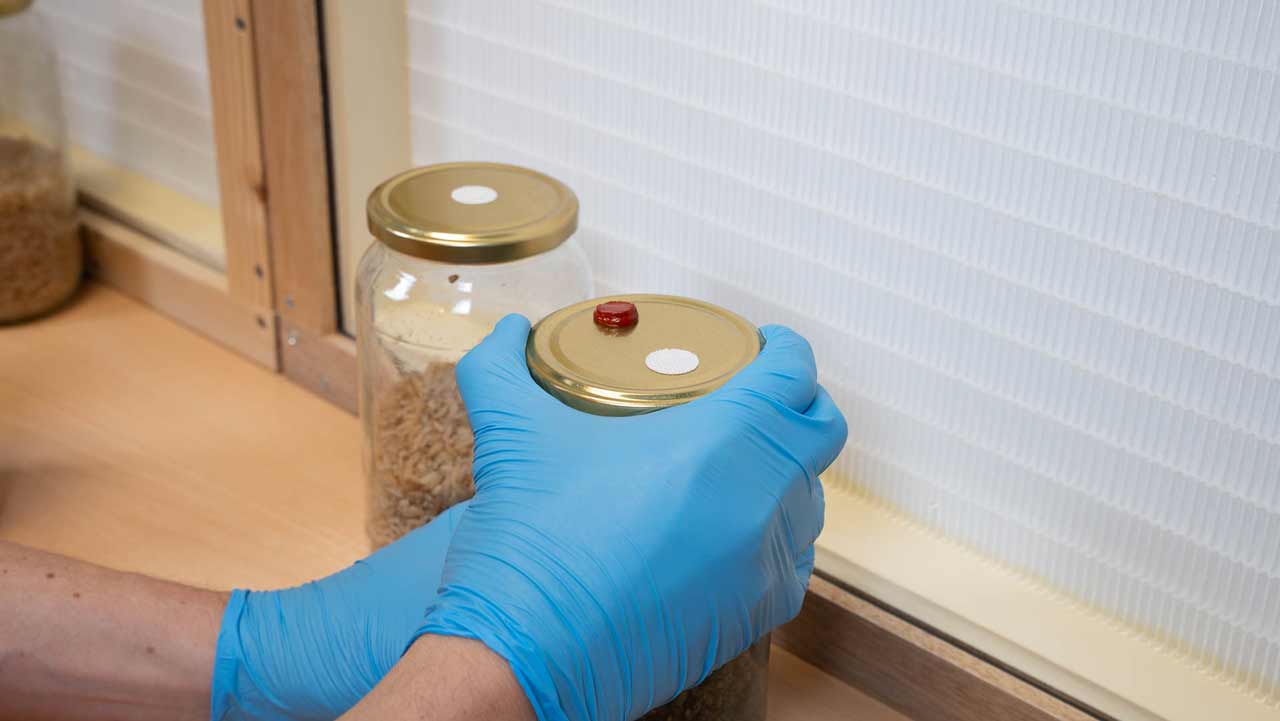
4. Prepare the jars or bags
If you’re using jars, loosen the lids of the jars filled with freshly sterilized grains, but don’t take them off yet. Open the jar with the colonized spawn, remove the lid from one of the sterile grain jars, and in one smooth motion, add a bit of colonized spawn. Put the lid back on the inoculated jar and repeat the process for the others.
If you’re using spawn bags, you can cut or snip them open at the top. Add a bit of colonized spawn to each bag with sterilized grains. Then seal the bags or close them with a twist tie or wire.
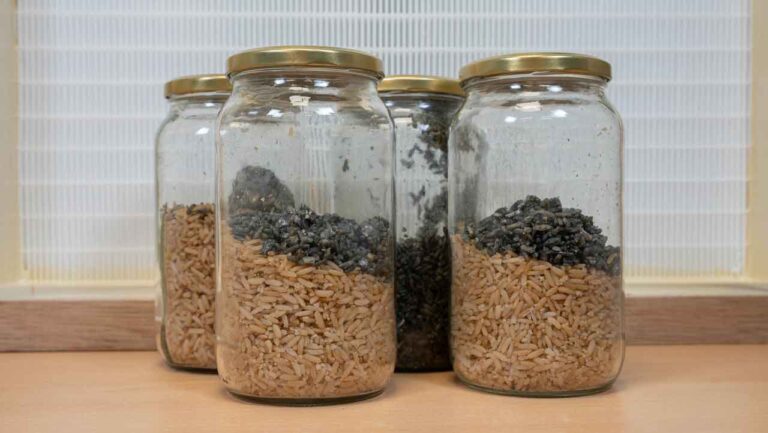
Grain-to-grain transfer
Spawn added to sterile rice
5. Mix the colonized and sterile grains
Once you’ve added the colonized spawn to the sterile grains, it’s time to give everything a good shake or mix. This will help the colonization of the new substrate happen as quickly as possible. If you mix it well now, you won’t have to do it again later.
Mixed spawn and rice
Parafilm sealing for extra protection
6. Label your jars or bags with the strain and date
After completing the grain-to-grain transfer, label each jar or bag with the strain name and inoculation date. This will help prevent confusion later and makes it easier to track colonization progress.
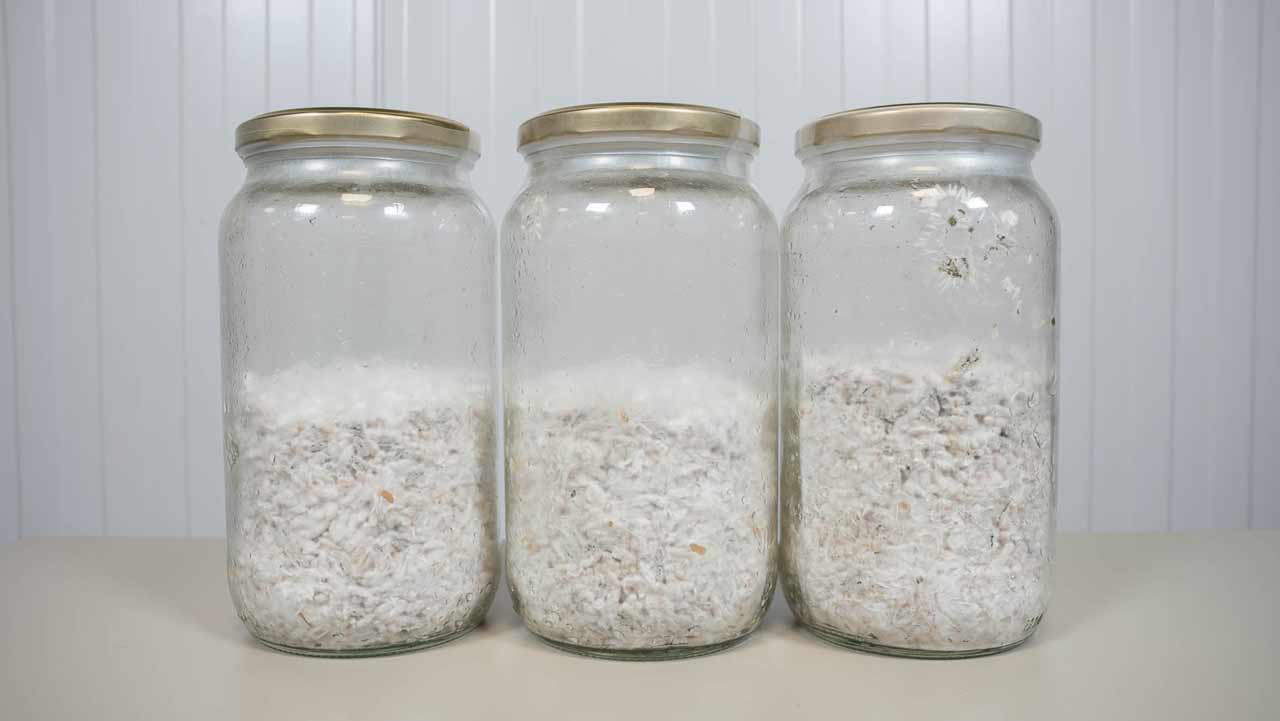
7. Let the spawn colonize in your incubation space
Place the inoculated containers in a warm space or incubator. Once the mycelium recovers from the transfer, it will begin colonizing the new substrate. Under the right conditions, colonization should be complete within 1–2 weeks.
The jars shown below were incubated at 20–22°C and were ready to use after 10 days. If the temperature had been between 25–27°C, they probably would’ve been done even sooner.
3 days after G2G transfer
3 days after G2G transfer (close-up)
6 days after G2G transfer
6 days after G2G transfer (close-up)
10 days after G2G transfer: colonization complete
Inoculate bulk substrate or grow in trays
Now that you’ve got extra mushroom spawn, you can choose to inoculate more bulk substrate in a monotub or grow directly in trays with a casing layer. Whatever your next step is, we wish you the best of luck and lots of fun!