Making your own mushroom spawn doesn’t have to be complicated or expensive—especially if you use brown rice. In this article, we break things down in a super accessible way, explaining why brown rice is a great choice and how to get started step by step. Keep reading to learn more about our method.
Table of Contents
Pros and cons of using brown rice for mushroom spawn
Brown rice is a great base for mushroom spawn for a bunch of reasons. It’s nutritious, easy to find, and generally pretty cheap. Plus, rice grains are relatively small, which helps the bulk substrate colonize faster and more efficiently later on.
The biggest downside? Rice can get sticky or mushy if it’s overcooked. To avoid that, it’s best to cook it just a bit shorter than the instructions say. That way, the grains stay firmer, reducing the risk of bacterial contamination. It also keeps the substrate more airy and makes it easier to shake later—speeding up colonization.

How do you make mushroom spawn from brown rice?
Below, we’ll walk you through the step-by-step process of prepping brown rice to make mushroom spawn. The focus is mainly on hydrating and sterilizing the rice. After sterilizing, the rice needs to be inoculated—like with liquid culture, for example. Read on to check out the supplies you’ll need and how it all works.
Supplies
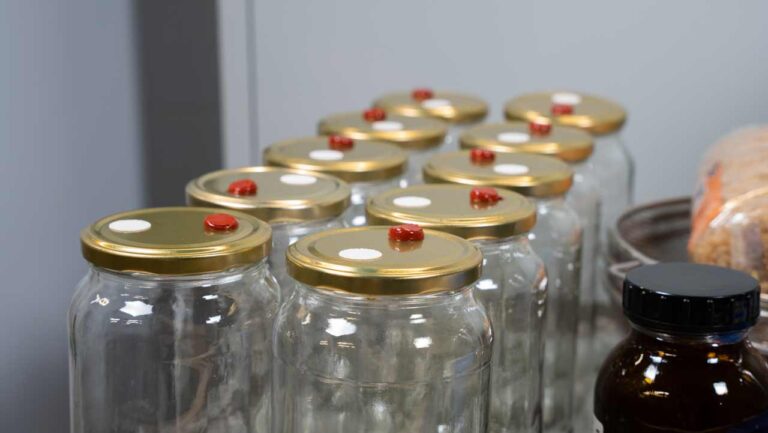

Before we dive in, just a quick note: in this article, we’re using jars with lids that have microfilters and injection ports. Since jars are reusable and easy to clean, this is our go-to method.
Of course, you can also use spawn bags with microfilters and possibly injection ports. The overall process is pretty similar, but we’ve added a few extra notes about the differences. Here’s what you’ll need:
Essential
- Brown rice (about 2 kilos for 9–10 jars). Check the section on how much rice you need for more details.
- Water
- Jars or spawn bags with micron air filters
- Strainer or mixing screen
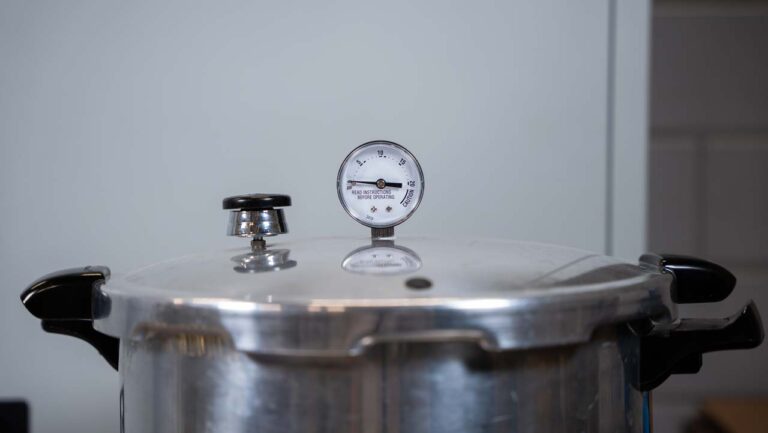
- Autoclave or pressure cooker
- Burner or stovetop
Optional
- Measuring cup
- Jar funnel
- Brew bag
- Activated charcoal
- Gypsum
- Aluminum foil
Steps
Ready to get started? Follow the steps below carefully and learn how to prep brown rice perfectly for making mushroom spawn.
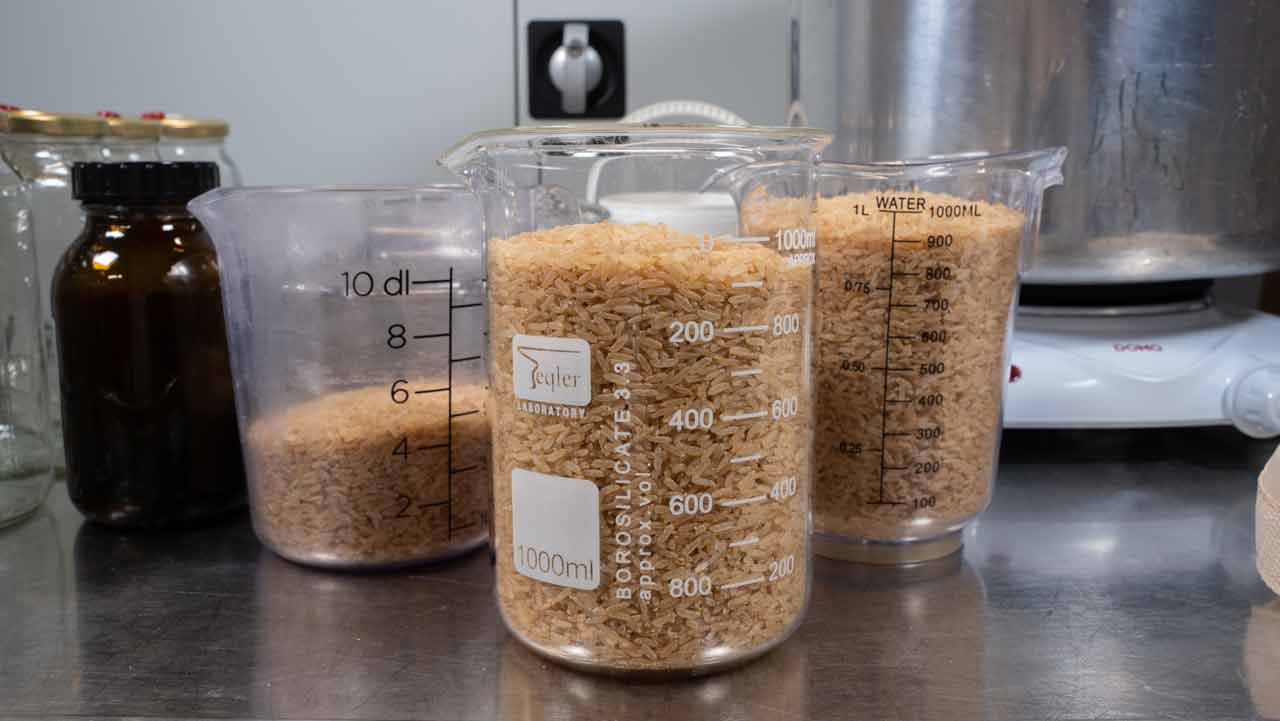
1. Measure or weigh the rice
Find a suitable workspace and measure or weigh the amount of rice you need. See the sections on rice volume and weight for more information about the right amounts.
2. Bring water to a boil and add the rice
Once you’ve measured or weighed the rice, bring water to a boil. Use about 2 to 3 times as much water as rice (by volume).
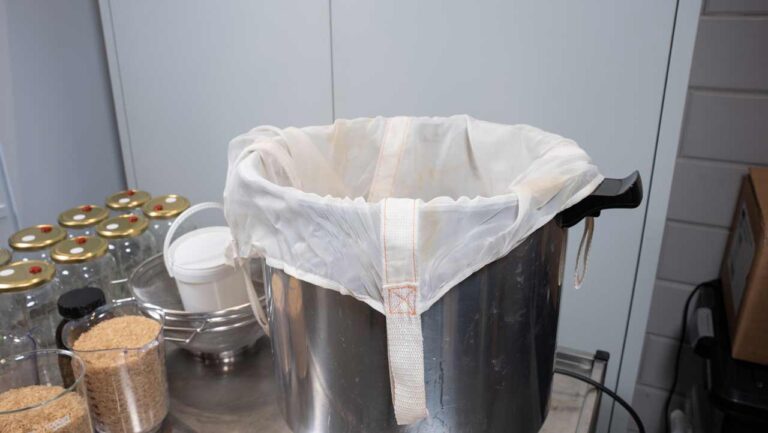
If you have a brew bag, you can place it in the pot. This makes it easier later to remove the hydrated rice from the pot.
Once the water is boiling, add the brown rice.

3. Cook the rice
Cook the rice al dente and pay close attention not to overcook it. If the rice cooks too long, the grains may burst, which makes the spawn slimy. This makes it harder to shake later and can promote bacterial growth.
The cooking time depends on the type of rice. So taste regularly to check if the rice is al dente (a little firm but not hard). After hydration, the starch in the rice should look glassy.

4. Drain the rice and let it steam off
Drain the water as soon as the rice is al dente. If you’re using a brew bag, take it out of the pot and let it drain in a suitable spot.
Then place the rice in a strainer or on a mixing screen so it can properly steam off. We prefer a mixing screen because the rice spreads out better and dries more evenly and efficiently. A strainer also works, but make sure to stir the rice regularly.
Let the rice steam off for about 15–30 minutes, and stir or toss it around now and then.


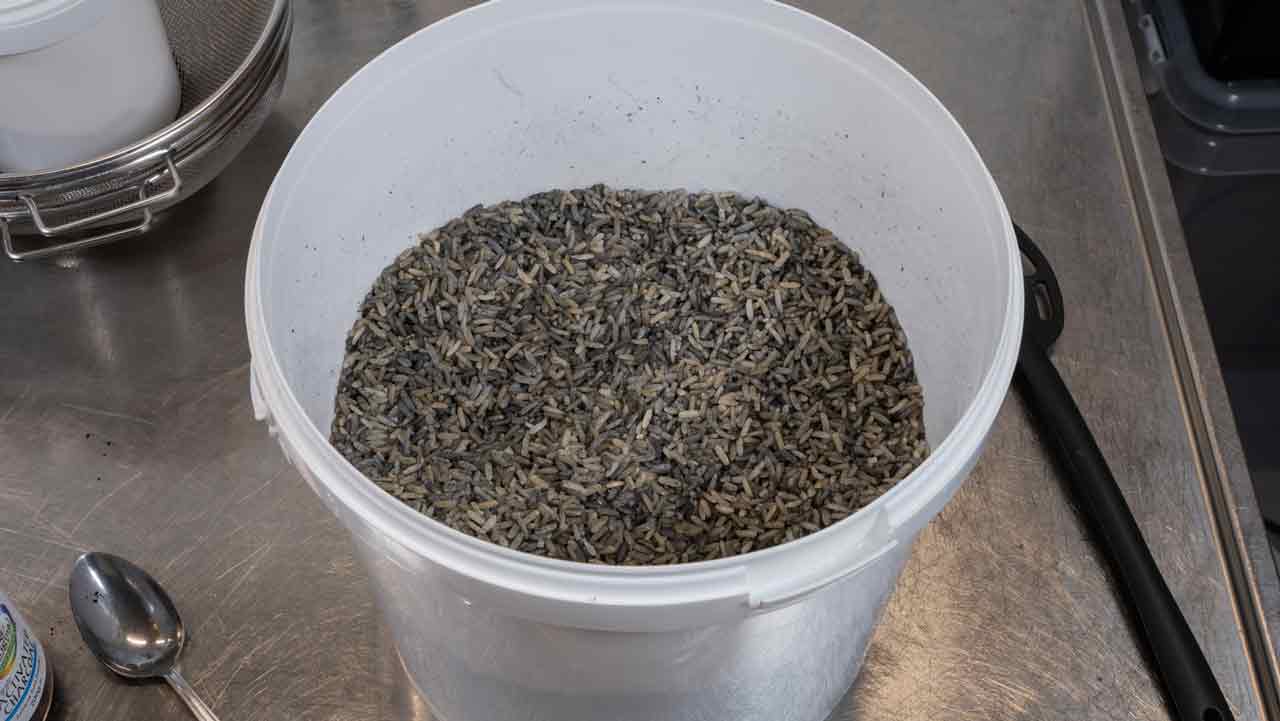
5. (Optional) Add activated charcoal or gypsum
After the rice has steamed off, you can optionally add activated charcoal or gypsum. One tablespoon per 2.5 liters of dry rice is usually enough.
Both additives provide extra nutrients and help prevent the rice from sticking. One bonus of activated charcoal is that it’s often made from coconut husks. That gives it similarities to coco coir, a common bulk substrate.
Since mycelium has a kind of memory function, this could help speed up colonization during the bulk substrate phase.
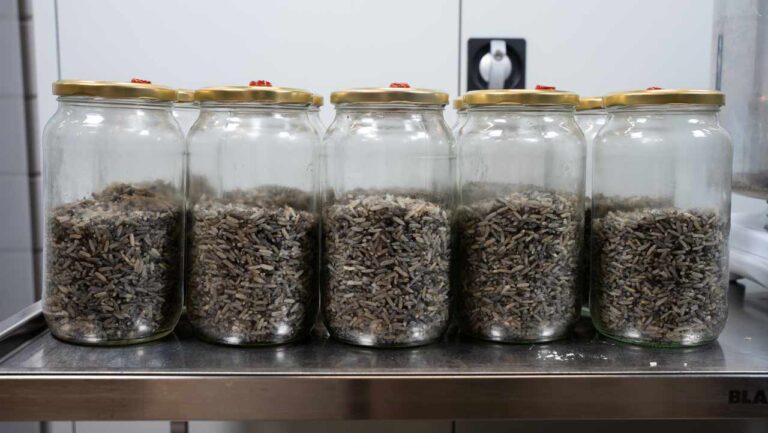
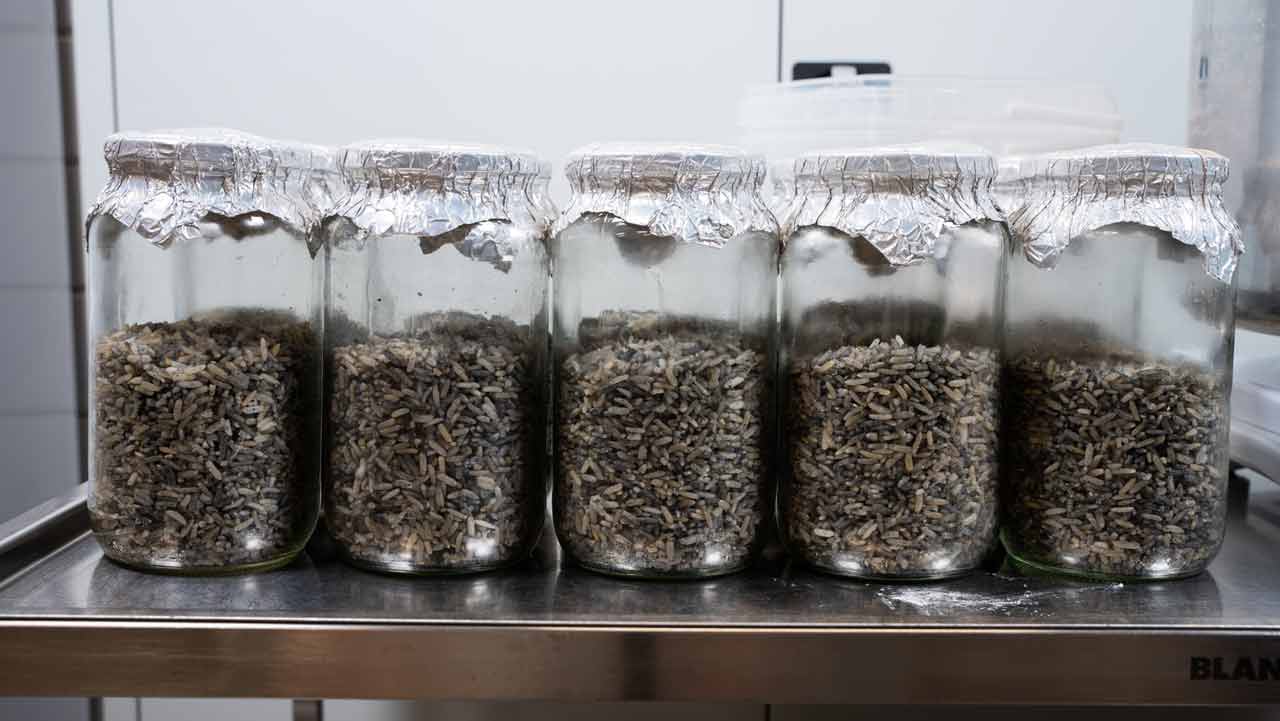
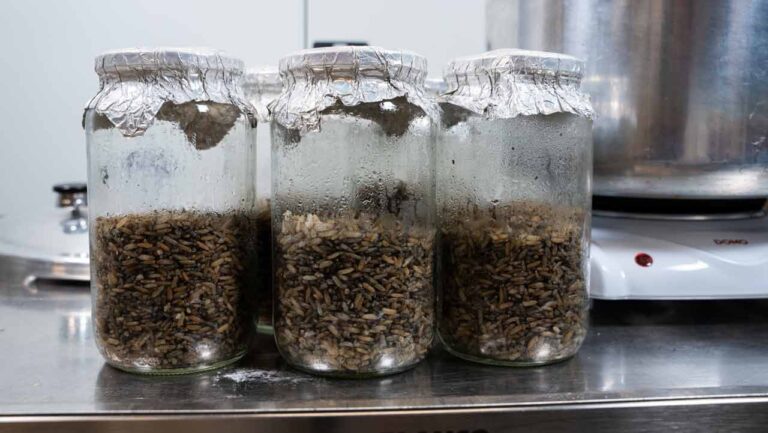
6. Fill the jars or bags
Fill the jars two-thirds full with rice. Close them with lids that have micron filters. This helps keep microorganisms from contaminating the substrate. For extra protection, you can add a layer of aluminum foil over the lids. That prevents too much moisture from getting on the filters.
If you’re using spawn bags, fill them with the recommended weight. Fold them neatly so air can escape during sterilization and they vacuum-seal automatically.

7. Load the autoclave or pressure cooker and sterilize the rice
Load the autoclave or pressure cooker with the jars or bags. In the 23-quart Presto Canner we use, you can fit 9 jars. Jars can also be placed lying down in the pressure cooker.
Sterilize the jars for about 2 hours at 15 PSI. Make sure to let steam vent for around 10 minutes before starting the actual sterilization process. That way, you’re sure all the air has been replaced by steam—essential for proper sterilization.
If you’re using bags, you might need to sterilize longer because of the larger load. In that case, plan on 2 to 4 hours of sterilization.
Also keep in mind it’s recommended to leave enough space between the bags. This ensures the steam reaches everywhere and the sterilization works properly.


8. Let the autoclave or pressure cooker cool down and unload the jars
Let the autoclave or pressure cooker cool down until it’s safe to touch. Then take out the jars so they can cool further.
For unsealed spawn bags, it’s highly recommended to use a flow hood. If bags are opened in unfiltered air, they can easily get contaminated.

9. Inoculate the sterile rice
Once the rice has cooled to room temperature, the jars or bags with sterile rice can be inoculated, for example with liquid culture. Make sure not to inoculate too early—too much heat in the substrate can kill the mycelium.
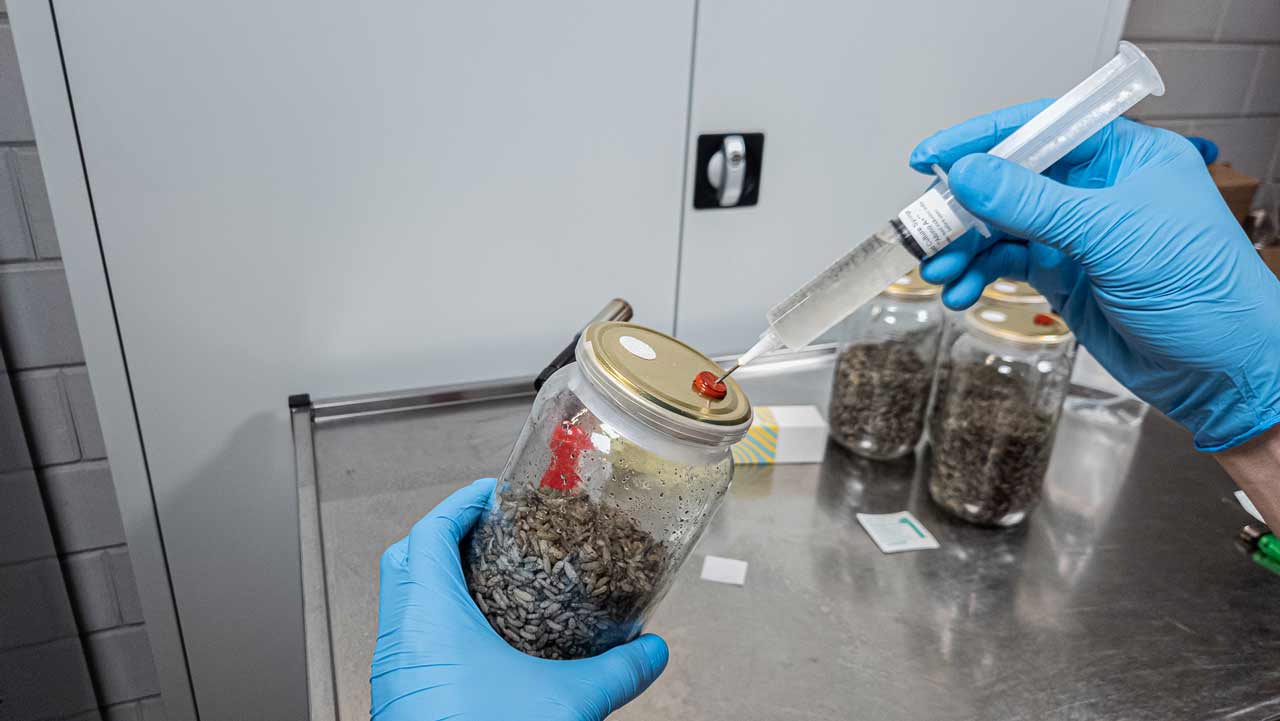
Inoculating your brown rice mushroom spawn
After preparing and sterilizing the brown rice, it’s time to introduce spores or a culture to the substrate. There are a few ways to do this. A popular method is using a spore or liquid culture syringe, where a solution with spores or mycelium is injected straight into the rice.
Another option is using grain that’s already colonized by mycelium. This technique is called Grain to Grain (G2G). You simply mix colonized grains with sterile rice to spread the mycelium faster.
Finally, you can inoculate the substrate with an agar wedge—a small piece of agar with active mycelium that’s placed directly into the rice to kick off colonization.
Which method works best depends on the materials you have and how fast you want things to grow.
Once you’ve successfully inoculated your substrate, it’s just a matter of patience—let the mycelium do its thing and keep a close eye on it.
Extra info: how much brown rice do you need?
For this article, we needed rice for ten 1-liter jars, each filled two-thirds full. That meant we needed 666 ml of hydrated rice per jar. For 10 jars, that adds up to 6.66 liters of hydrated rice.
Since rice is sold by weight in stores, we had to do a quick calculation:
6660 / 3.4 (final volume of cooked rice (ml) ÷ volume-to-weight factor (3.4 ml/g)) = 1959 grams of dry rice, or roughly 2 kilos.
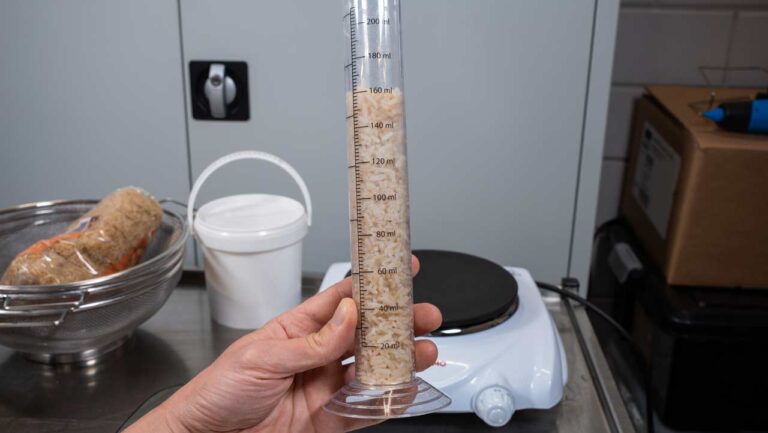
Volume change
To figure out how much the volume of dry rice increases when hydrated, we did a quick test. We found that 60 ml of dry rice expanded to 160 ml after hydration—a 2.67x increase.
Note: this test was done with the specific type of rice we used. The exact ratio may vary depending on the brand or variety.
If you’re using jars to make mushroom spawn, this factor is helpful. Figure out how much hydrated rice you need for your jars, then divide by 2.67. That’s how much dry rice you’ll need.

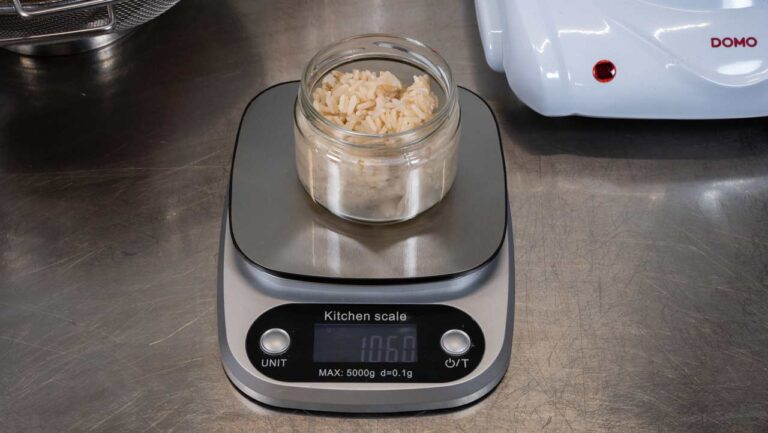
Weight change
Next, we checked how the weight of rice changes after hydration. 47 grams of dry rice increased to 106 grams after hydration—a 2.26x increase.
If you’re using spawn bags, this number comes in handy. Manufacturers usually recommend a specific fill weight. With this factor, you can easily calculate how much dry rice you’ll need for a 1 kg bag.

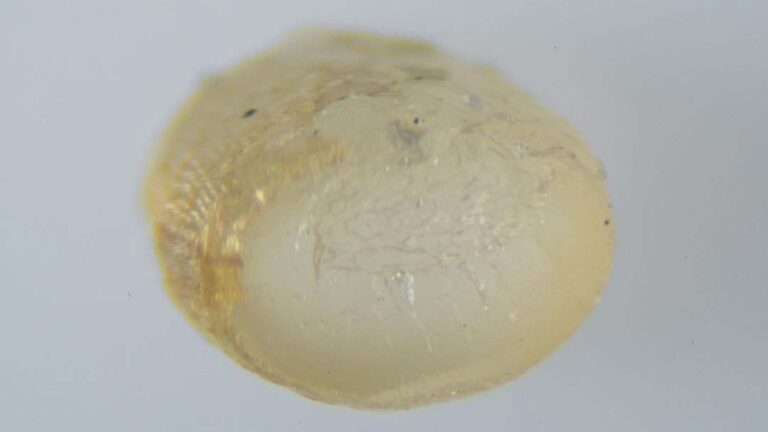
Change in starch structure
Finally, we did a quick test to look at the structure of dry versus hydrated rice grains. A dry grain looks milky, while a hydrated one becomes more glassy. The key difference here: mycelium can colonize a glassy grain, but not a milky one.
This change in structure already happens with al dente-cooked rice. So don’t overcook it—avoid it getting sticky and mushy.