Rye is probably the best-known grain type for making mushroom spawn. The nutrients it contains, along with its easy availability, play a major role in that. In this article, we’ll explain how you can easily make your own grain spawn from rye.
Table of Contents
What makes rye suitable for mushroom spawn?
The use of rye for making grain spawn is hugely popular for a reason. Rye is often considered the standard medium for making spawn by both pros and home growers. It’s generally easy to find in supermarkets and health food stores, either organic or non-organic.
Rye contains a lot of useful nutrients for mycelium, such as carbohydrates, proteins, and minerals. Examples of the latter include phosphorus, magnesium, potassium, and zinc. This combination of nutrients supports healthy mycelium growth.
Rye grains also have an ideal shape and can absorb a lot of moisture during cooking without bursting easily. This helps prevent the spawn from becoming slimy. Slimy spawn has several drawbacks: it’s less suitable for mycelium growth (an airy substrate is better), harder to shake, and can encourage bacterial growth.
One downside to using rye is that it’s recommended to soak the grains for 12 to 24 hours and then cook them to fully hydrate. That’s more work compared to some other grains, like rice for example.

How to make rye grain spawn?
Now that it’s clear why rye is excellent for making spawn, let’s look at the actual process. Start by choosing a suitable workspace and gathering the supplies listed below.
Essential supplies
- Rye
- Scoop or large spoon (for filling jars or bags)
- Pot or kettle (for rinsing, soaking, and boiling the rye)
- Pressure cooker or autoclave (for sterilization)
- Strainer or mixing screen
Optional supplies
- Gypsum
- Brew bag
- Scale
- Measuring cup
- Jar funnel (for jars) or fill tool (for bags)
Steps
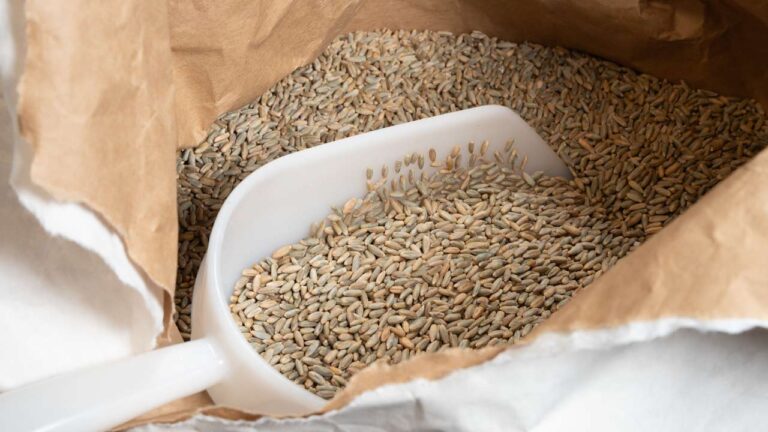
1. Measure or weigh the rye
Measure or weigh the right amount of rye for the number of containers (bags or jars) you want to fill. In general, rye increases in volume by a factor of about 3 after hydration. The weight increases by a factor of about 1.7. You can find more details in the extra section on weight and volume changes.
With this info, it’s easy to calculate how much dry rye you need to measure out. Put the rye in a pot or kettle to rinse and remove impurities. This will result in a cleaner and fluffier substrate that’s easy to shake for optimal colonization.

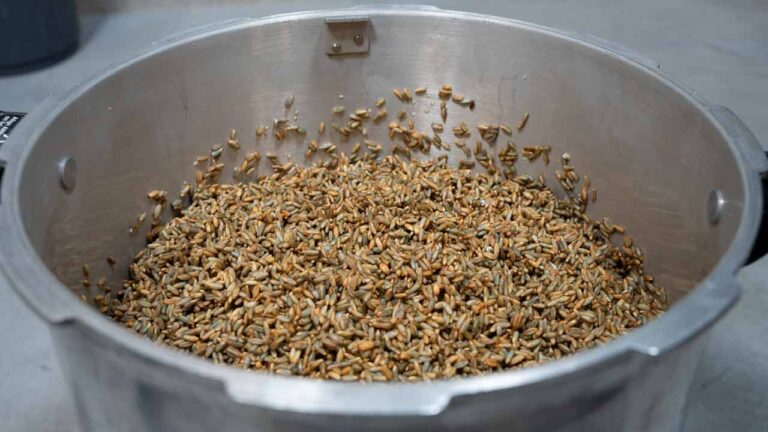
2. Rinse the rye
Start rinsing the rye by adding water. You’ll notice the water quickly turns brown from the dust and flour that’s collected on the outside of the grains. You’ll usually need to repeat the rinse several times to get the rye as clean as possible. How many times depends on how dirty it is. The organic rye we used for this article was rinsed eight times in total.
At the end of the rinse, you can optionally add some gypsum—about 1 tablespoon per 3 liters of dry rye. This helps reduce stickiness and adds minerals that may support enzyme function. Examples of these minerals include calcium and sulfur. Gypsum can also promote mycelium growth by keeping the grains more separated and increasing airiness. Plus, it has a light buffering effect, helping to stabilize pH a bit.
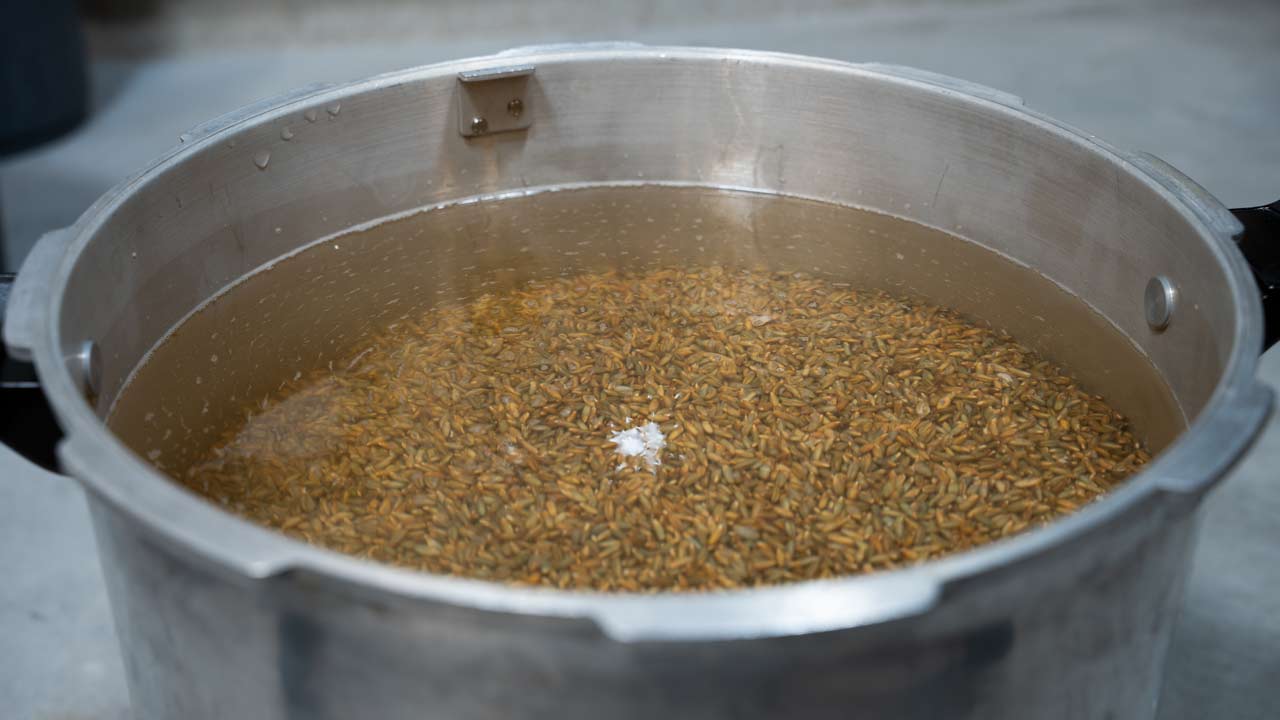
3. Soak the rye for 12–24 hours
Cover the pot or kettle and let the rye soak for 12 to 24 hours. This is recommended for two main reasons:
- Endospores can germinate during the soaking process. This allows them to be effectively killed during sterilization, preventing contamination of your rye spawn afterward.
- The rye grains start absorbing water and soften up. As a result, fewer grains burst during boiling. This helps reduce stickiness in the spawn, since less starch is released.

4. Bring the rye to a boil
After the rye has soaked for 12 to 24 hours, bring the water to a boil. It’s best to use the same water the rye soaked in, as it’s clean and, if gypsum was added, contains minerals for structure and pH buffering. For this article, we transferred the rye to a boiling kettle, but that’s totally optional.

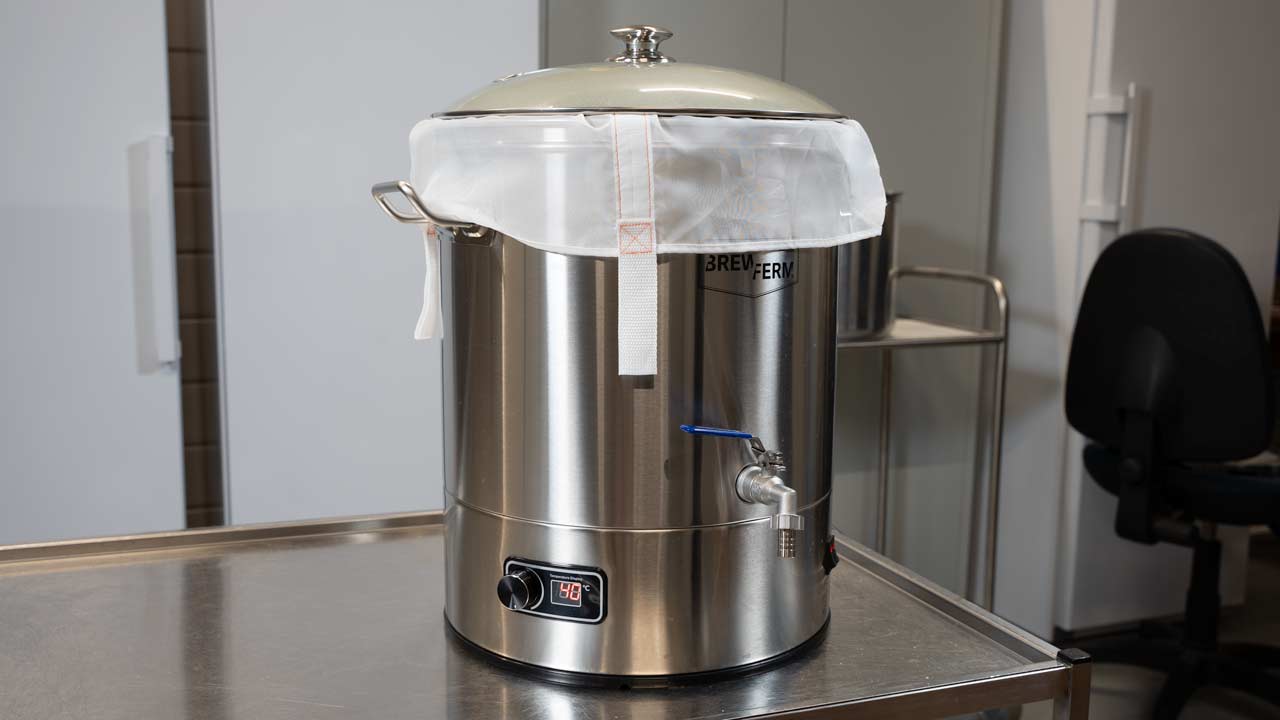
5. Cook and hydrate the rye
Bring the pot or kettle with rye to a boil. If you have a brew bag, you can use it to handle the rye more easily.
During boiling, it’s important to test the rye regularly. The grains should end up al dente with a glassy interior. You can check this by biting through a grain. A glassy core means the crystalline structures have broken down and “gelatinization” has occurred. The starch has now transformed into a structure that mycelium can easily colonize and break down.
From experience, it’s better not to stick to a fixed cooking time. The needed time depends on the type of rye and the amount you’re preparing. Larger batches take longer to heat up, which actually shortens the boil time—since gelatinization starts at around 60–70 °C, the heat-up time counts too.
Always make sure not to overcook the rye. If too many grains burst, you’ll end up with a sticky, slimy mess.
6. Let the rye steam off
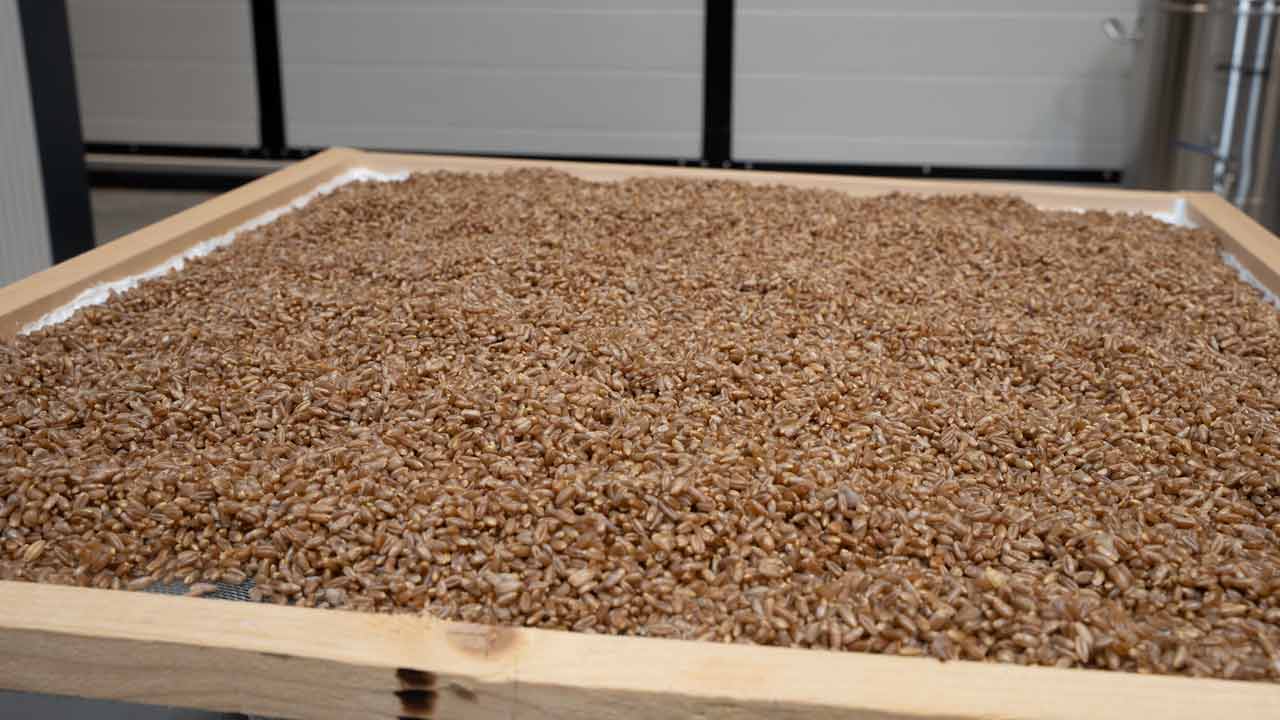
When the rye grains are al dente and have a glassy inner structure, take them out of the pot or kettle. Use a strainer or a mixing screen to let the rye steam off. If you’re using a brew bag, you can simply lift out all the rye.
Steaming off is needed to remove excess moisture from the outside of the grains. The moisture the mycelium needs is now inside the grains; moisture on the outside can mess with the spawn’s ideal hydration level.
If using a strainer: put the rye in and toss it regularly to let it steam off evenly and quickly. When you’re using a mixing screen instead, you can spread the rye out as evenly as possible and scoop it around from time to time for even drying.
After 15 to 30 minutes, the outside of the grains should be nearly dry, while the inside stays moist and fully hydrated.


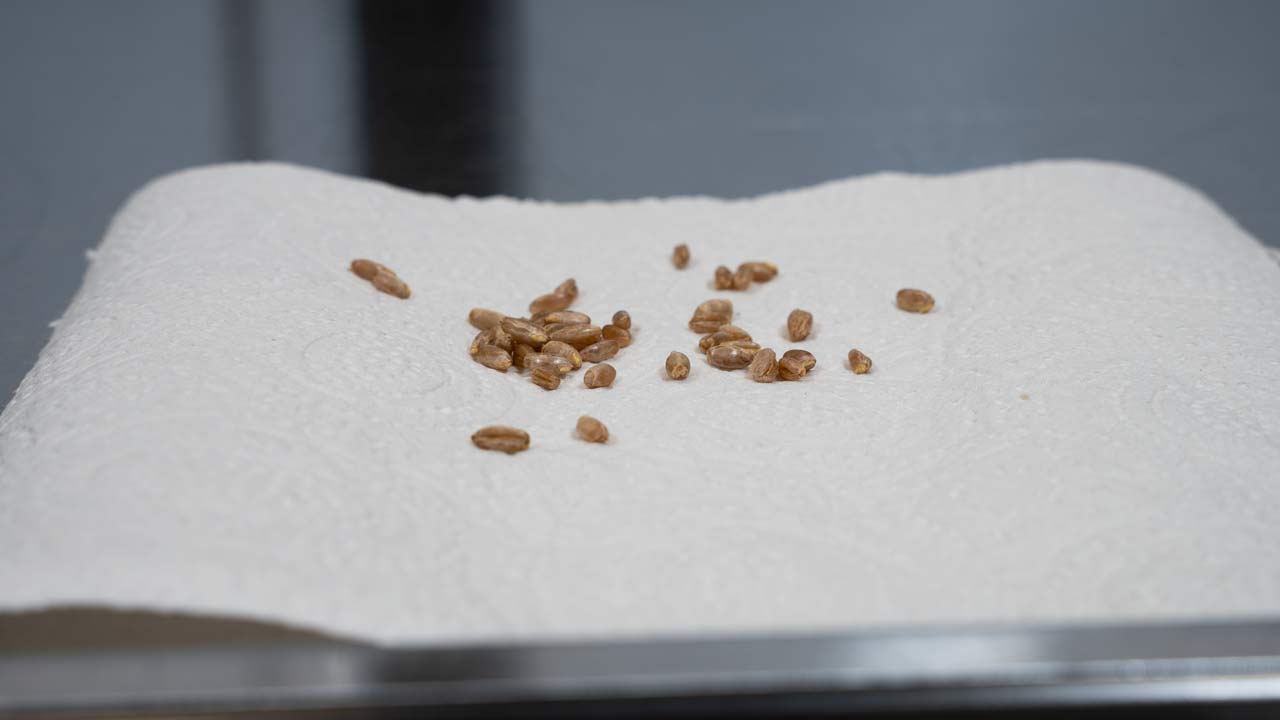
To check if the outside moisture level is right, you can place some grains on a piece of paper towel or toilet paper. If they don’t leave wet spots, the hydration is perfect, and you’re good to go filling your spawn jars or bags.
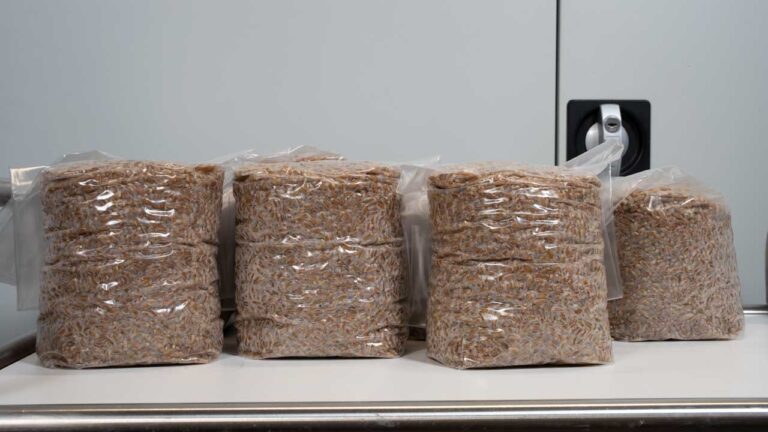
7. Fill the spawn jars or bags with rye
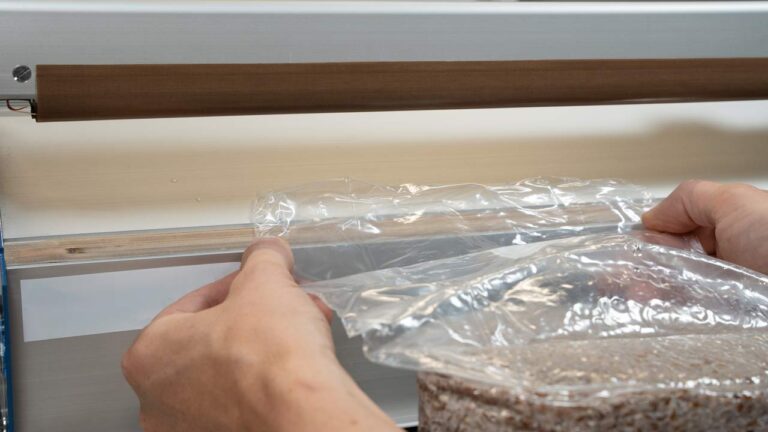
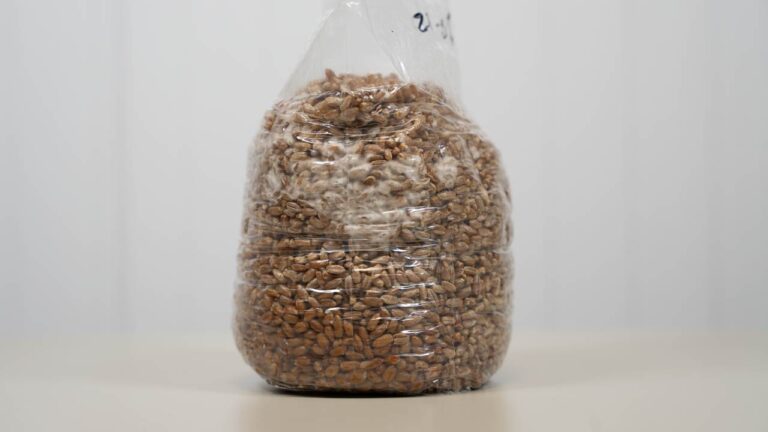
Fill your jars or bags with rye. Use tools like a funnel, scale, or measuring cup to make it easier and more accurate. The photos below show how we filled Unicorn 4T bags with 1 kg of rye.


8. Load the pressure cooker or autoclave
Put the filled jars or bags into a pressure cooker or autoclave and sterilize the rye. The required sterilization time ranges from 1.5 to 4 hours, depending on the amount and type of container. In general: the bigger the load, the longer it takes to fully sterilize.
Keep in mind: jars usually need less sterilization time than bags. Bags often have more volume and take longer to heat through, especially when the cooker or autoclave is packed tightly. That slows down the steam penetration and heating process.

9. Let the pressure cooker or autoclave cool down
Wait until the device is safe to touch — and ideally even longer, so the bags have time to vacuum seal properly. Then unload the jars or bags.
If you have access to a flow hood, it’s best to unload them directly in front of it. That’s because there’s no guarantee the bags are fully vacuum sealed. After unloading, seal them using a heat sealer or close them with a zip tie.


10. Inoculate the rye
Once the rye has completely cooled down to room temperature, you can inoculate it using your method of choice. Depending on the container (jar or bag) and your chosen inoculation method, a flow hood or still air box (SAB) can come in handy.
In the photos below, you can see how we open the bags with a scalpel and inject liquid culture. To avoid contamination, we do this in front of a flow hood. If you’re using jars or bags with an injection port, a flow hood isn’t strictly necessary — inoculation happens without exposing the inside to unfiltered air.
After opening the bags for inoculation, you can seal them again with a heat sealer, zip tie, or wire twist.


11. Place inoculated bags or jars in the incubation space
After adding mycelium to the sterile rye, place the jars or bags in an incubation space. This can be as simple as a warm, dark spot in your home, or a dedicated area or device. A few days into incubation, it can be helpful to shake the spawn to kickstart the final colonization phase.
For more detailed info, check out our article on mushroom spawn incubation. It explains, among other things, the benefits of shaking and how to turn a simple cooler into an effective incubator.


Easily make your own rye mushroom spawn for a strong start
With the info in this article, you can easily make your own rye spawn. Rye is generally easy to find and serves as a reliable and nutritious base for mycelium. By carefully following the steps above, you’re setting yourself up for a solid start to your grow.
Once your spawn is fully colonized, you can move on to the next stages of cultivation. For example, use your mushroom spawn to grow shrooms in a monotub, or grow straight on grain with a casing layer. Good luck!
Extra info: weight and volume change of rye after hydration
To get a better understanding of the exact increase in weight and volume after hydration, we ran two tests. We measured both the weight and volume before hydration, then repeated the measurements afterward to determine the changes with the organic rye we used.
These results can serve as a guideline when prepping rye for mushroom spawn.
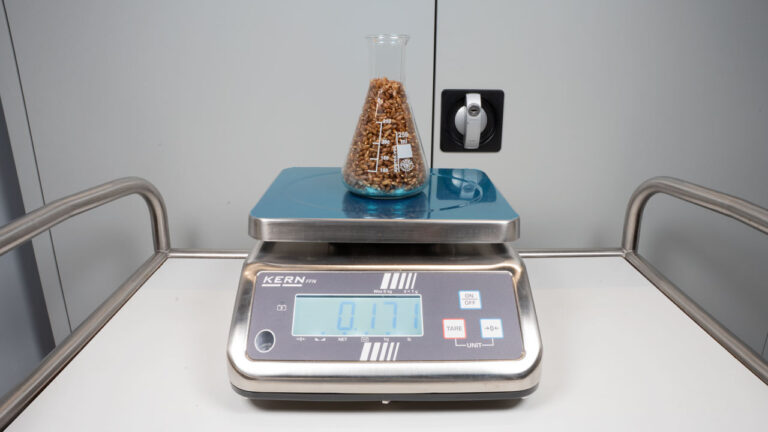
Weight change
To determine the exact change in weight, we started with 100 grams of dry rye. After hydration, the weight was 171 grams. That’s a weight increase by a factor of 1.71.
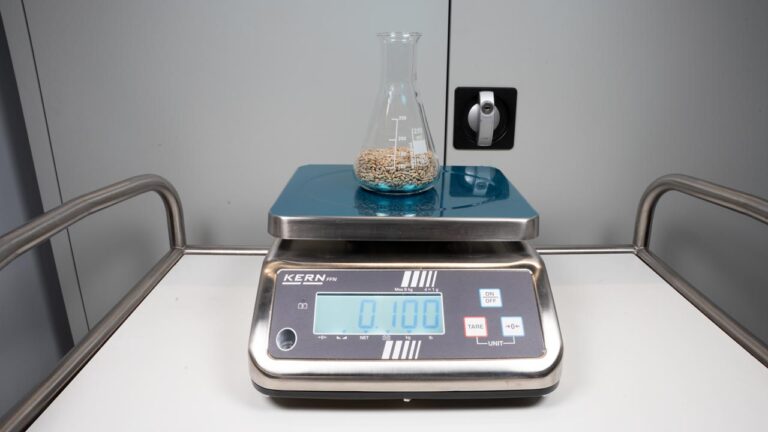
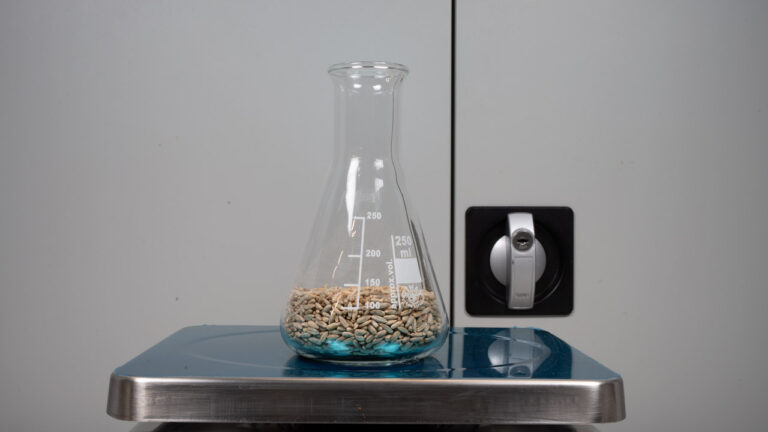
Volume change
To determine the change in volume, we measured about 100 ml of dry rye. After hydration, the volume increased to roughly 300 ml — that’s a volume increase by a factor of about 3.