


Have you finished your magic mushroom cultivation and need reliable advice on drying and storing your harvest? Then you’ve come to the right place.
We explain a drying method that starts with pre-drying and ends with dehydrating in a food dehydrator to remove all moisture.
Table of Contents
Why should you dry magic mushrooms?
The answer to this question is simple: by drying magic mushrooms, you extend their shelf life in an easy way. This is essential to prevent your valuable supply from spoiling quickly. In addition, the mushrooms’ volume decreases, making them easier to store.
To demonstrate the benefits of proper drying, let’s look at the differences in shelf life across various storage conditions in the overview below.
| Storage method | Shelf life | Assessment |
|---|---|---|
| Outside the refrigerator | 1–2 days | Rapid dehydration and spoilage. Not recommended. |
| Refrigerator (2–4°C) | 5–10 days | Store in a paper bag or breathable container. Preferably no plastic. |
| Cool and dark place (dried mushrooms) | Months to years | Best method for long shelf life. Store dry, airtight, and in the dark. |
| Freezer (dried mushrooms) | Years | Only suitable for fully dried mushrooms. Quality of fresh mushrooms may be affected. |
* Never store mushrooms in airtight bags or containers. Moisture trapped inside can cause mold and spoilage.
How do you dry and store magic mushrooms?
Learn what you need for efficient drying, followed by the process steps.
Requirements
- Freshly harvested magic mushrooms
- Small knife
- Cutting board, plate(s), or a tray
- Kitchen paper, tea towels, sushi mats, drying racks, or oven racks
- Food dehydrator
- Airtight jars or vacuum bags
- Silica gel packets (desiccant)
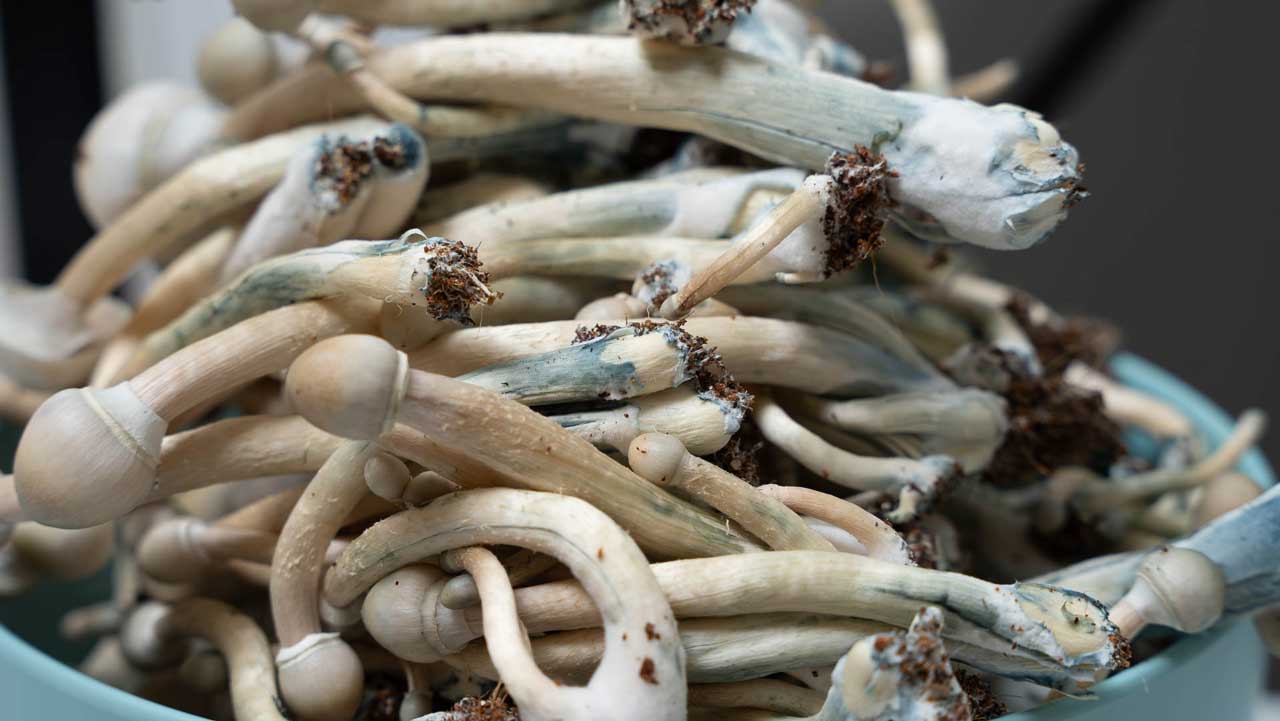
PHASE 1: pre-drying magic mushrooms
1. Prepare your drying area
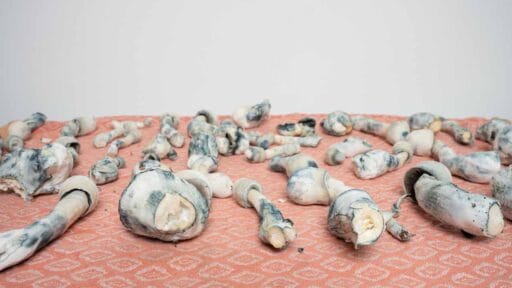


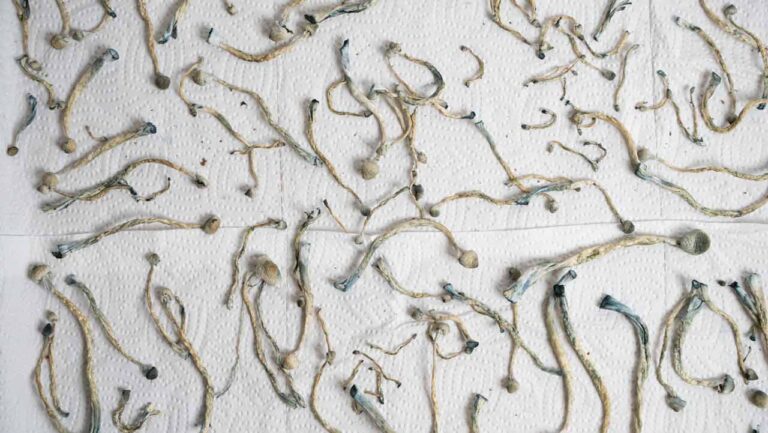
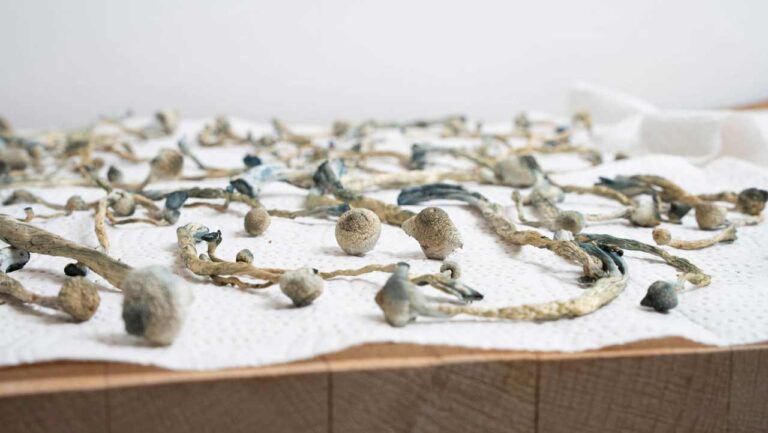
2. Spread the mushrooms over the surface
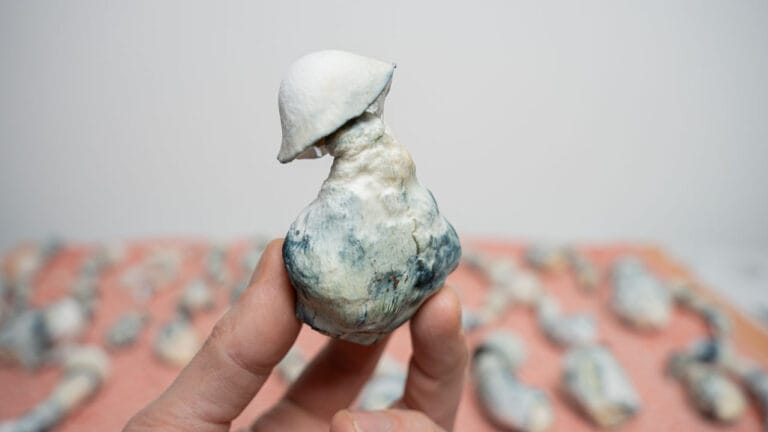

3. [Optional] Cover the mushrooms
Optionally, you can add a second layer of kitchen paper or tea towels on top. This layer absorbs moisture and shields the mushrooms from light.
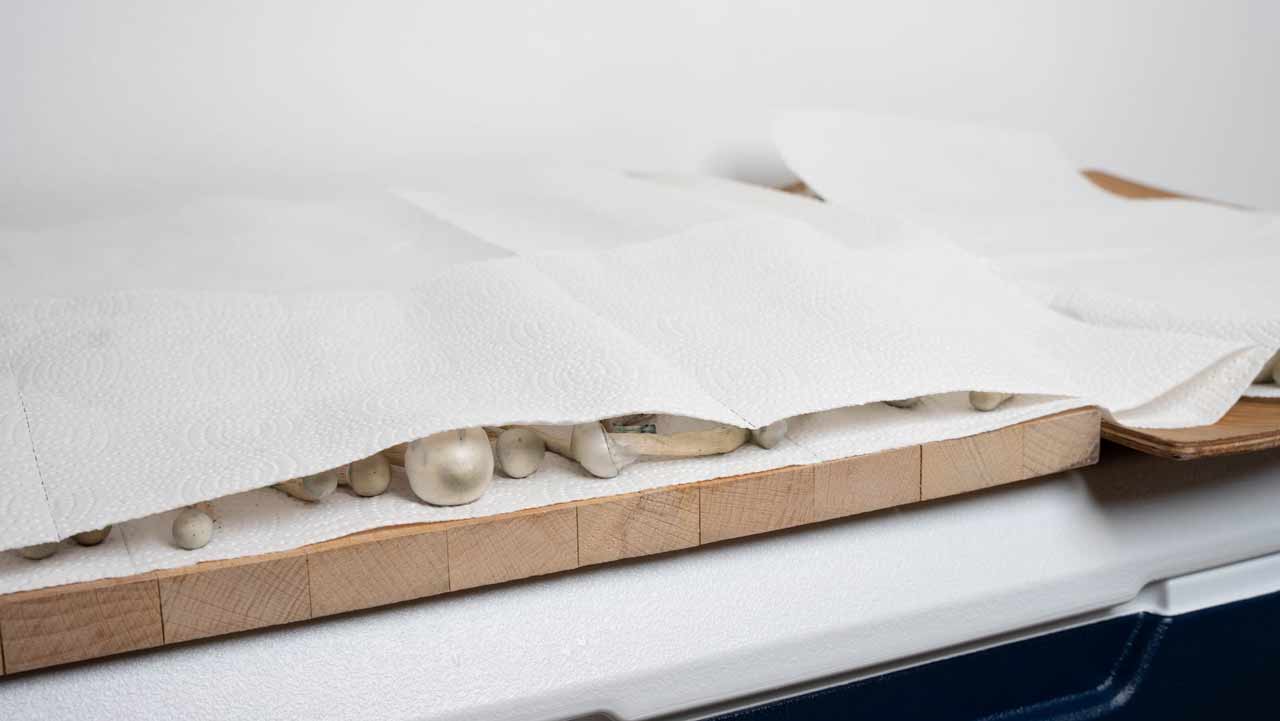
4. Place the mushrooms in a dark and dry room
5. Regularly check whether the mushrooms are dry
PHASE 2: drying your shrooms with a food dehydrator
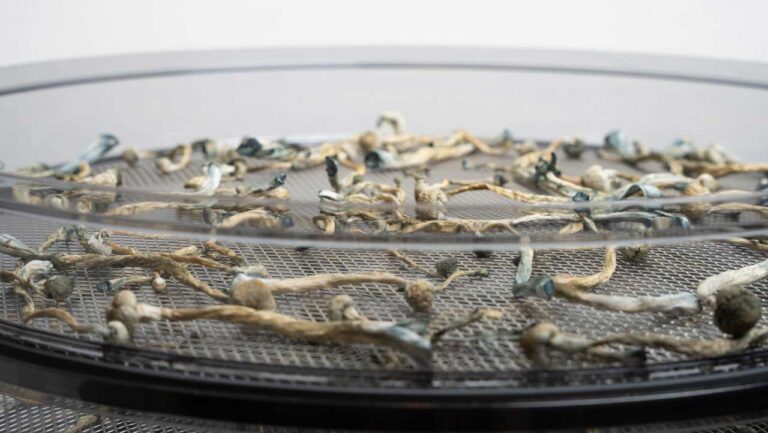
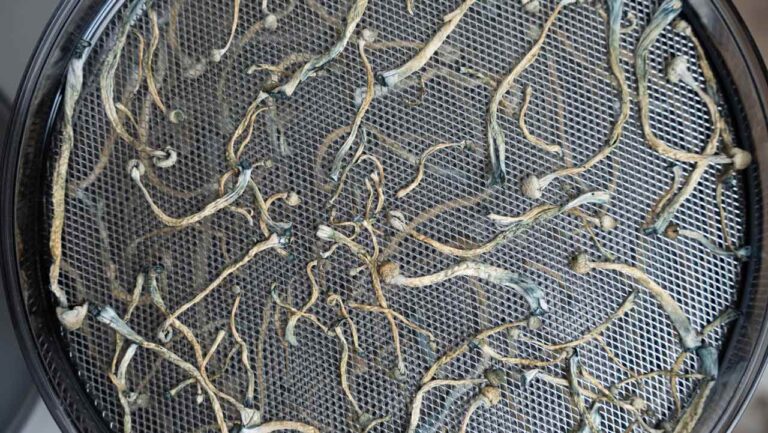
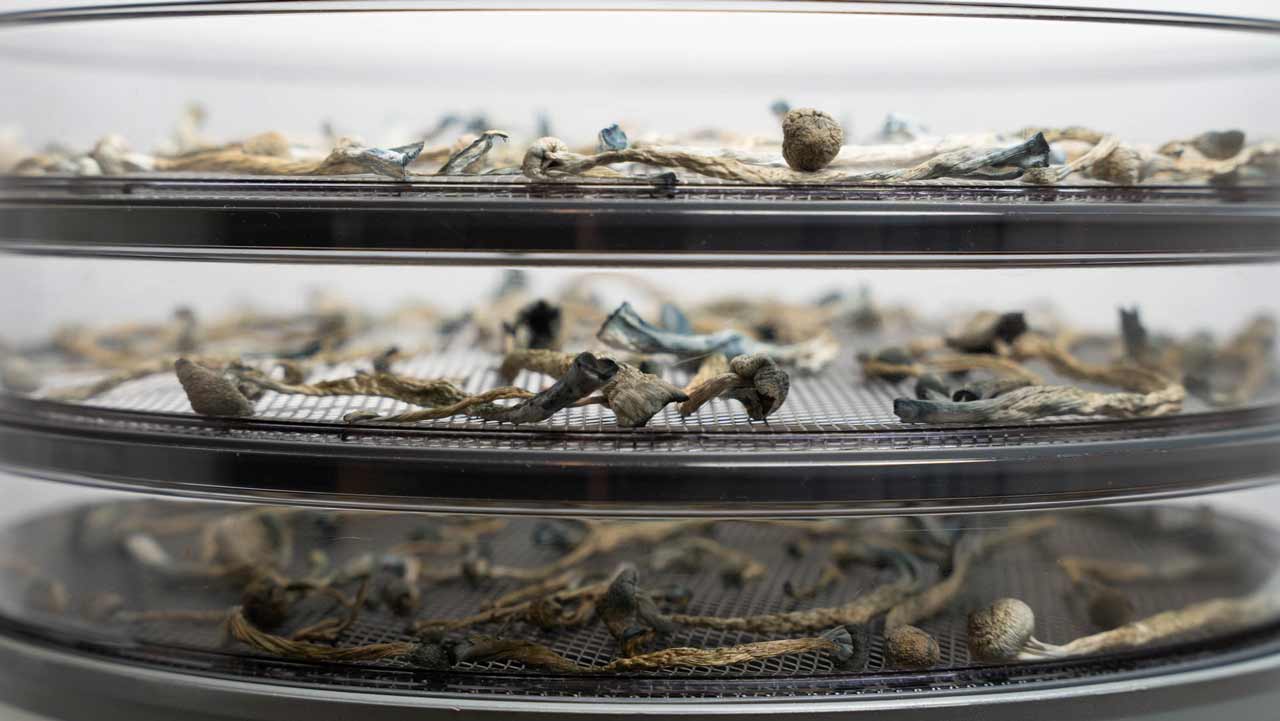
6. Spread the mushrooms over the drying racks
7. Dry and test
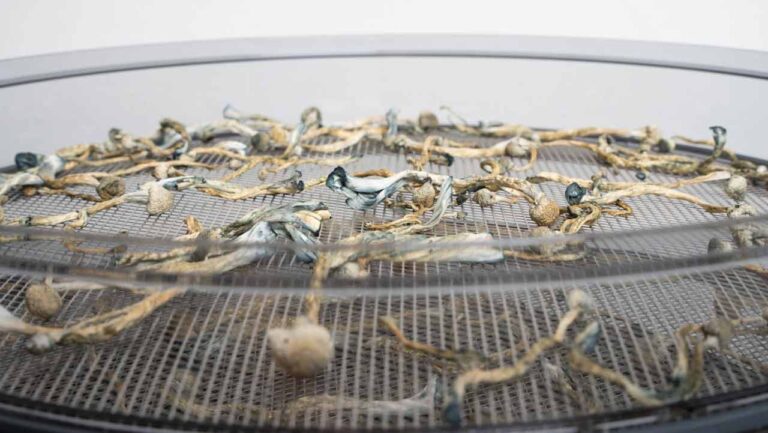
Set the food dehydrator to 40–50 °C and dry the mushrooms for 4–8 hours. During the drying process, test regularly whether the correct level of dryness has been reached.
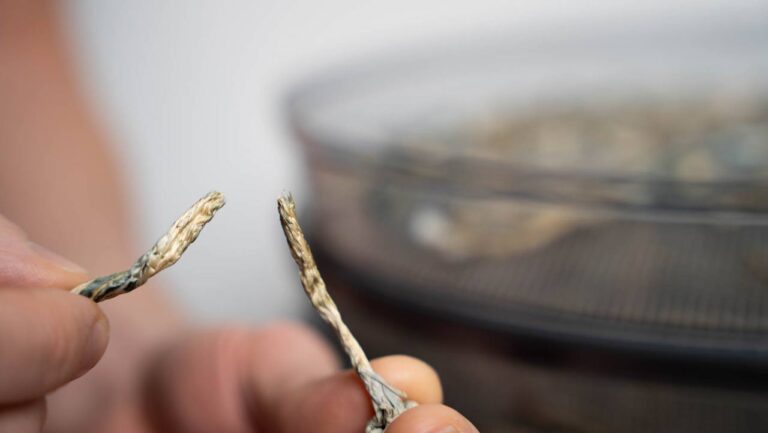
The simplest way to do this is by bending the mushrooms. If they do not bend but break, you know they are completely dry. Mushrooms at this stage are often called “cracker dry.”
8. Store the dried mushrooms
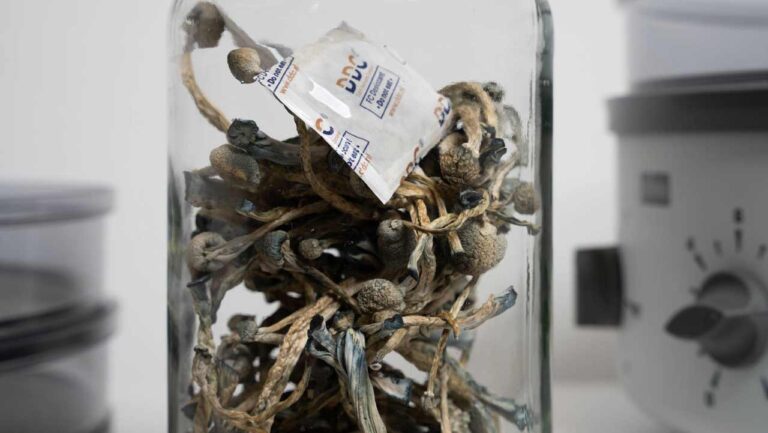
If you want to take an even more thorough approach, you can also store the mushrooms in vacuum or Mylar bags. Fill the bags, then add a few silica gel packets again. Then carefully vacuum the bag and seal it. Once the bag is properly sealed, the mushrooms can even be stored in the freezer, further extending their shelf life.
Always take care not to vacuum bags too tightly. Sometimes dried mushrooms have sharp edges that can perforate bags. When this happens, bags are no longer vacuum-sealed, and you will need to start over.
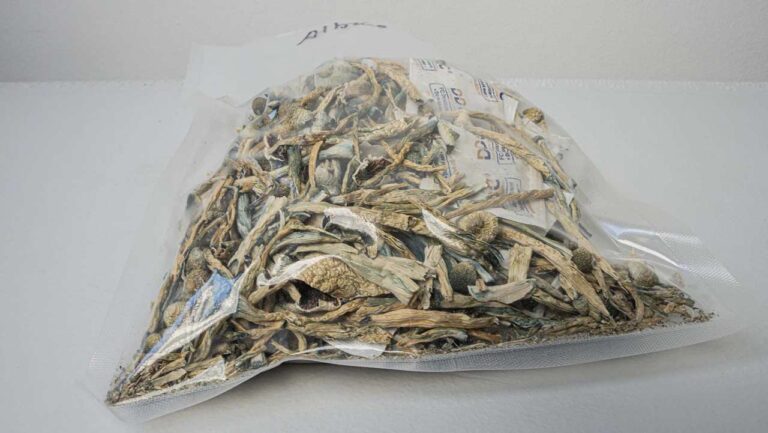
Always have a supply of magic mushrooms: dry and store wisely
After completing the steps above, the drying process is finished. You now have—if all went well—a nice supply of dried mushrooms at your disposal, which will remain in optimal condition for a long time. Ready to use whenever it suits you!
As soon as your supply starts to dwindle, you can start a new cultivation project. For example, make new mushroom spawn, or directly grow a new batch of mushrooms in a monotub if you already have spawn available. This way, you are always well-stocked.