


Monotubs are a staple among magic mushroom growers. They’re easy to make yourself, inexpensive, and super effective. Plus, it’s relatively simple to create the right growing conditions inside these tubs. Keep reading to find out what monotubs are and how to use them.
Table of Contents
What is a monotub?
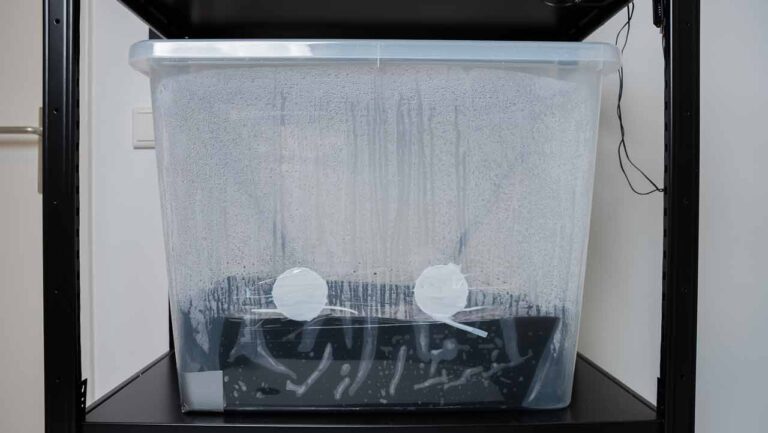
A monotub is basically just a regular plastic storage bin with air holes added. You can usually find these bins at any home goods or hardware store. All you need to do is pick the size you want and drill the air holes.
There’s no standard size — choose one that feels right for you and fits well in your space. Just keep in mind that the amount of substrate you can fit inside directly affects your harvest. More substrate usually means a bigger yield.
The holes, typically between 3.5 and 9 cm in diameter, can be made using a hole saw designed for plastic. When drilling, be careful not to apply too much pressure. Storage bins are often made of thin plastic and can crack easily. Let the drill do the work to avoid damaging the bin.
What are the advantages of a monotub?
Monotubs have several advantages. They are:
- Inexpensive
- Easy to make
- Reusable
- Great for creating the right growing conditions
- Suitable for achieving high yields
How long does it take to grow magic mushrooms in a monotub?
Assuming you already have fully colonized spawn and bulk substrate available, it usually takes about six weeks to grow magic mushrooms in a monotub. This estimate assumes optimized growing conditions. If you still need to make your spawn, add another two to three weeks to the estimate.
Here’s a quick overview of the different phases:
- Mixing bulk substrate with spawn: ± 1 hour
- Colonization of the bulk substrate: 1–3 weeks (depending on strain and incubation temperature)
- Fruiting: 1–3 weeks (depending on strain, temperature, light, and humidity)

How much spawn do I need?
Common spawn ratios are 1:4, 1:3, and 1:2. Which ratio works best largely depends on the strain you’re growing.
The desired colonization speed can also influence your decision. More spawn almost always leads to faster colonization of the bulk substrate. However, keep in mind that using too much spawn can sometimes result in deformed mushrooms.
Finding the right spawn ratio is often a process of trial and error. After growing a few times in a monotub, you’ll usually figure out which ratio works best for you.
How do you grow magic mushrooms in a monotub?
Below, we’ll explain what supplies you need and the steps you should follow to grow magic mushrooms in your own monotub.
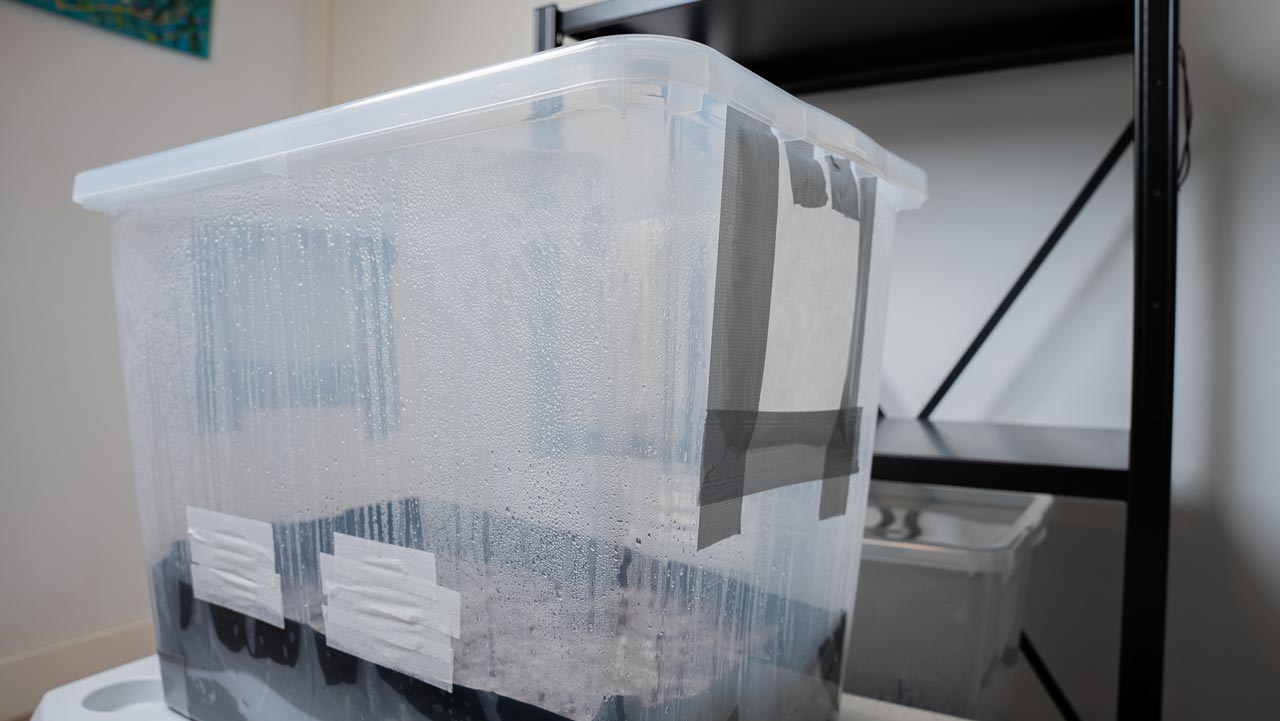
As a preparation, you can already tape over the air holes of the monotub. This way, during incubation, the focus remains on full colonization of the substrate. It also reduces the risk of contamination in later stages.
It’s also a good idea to place a small strip of micropore tape or filter material over the top holes, so the mycelium can keep breathing during incubation. Gas exchange is necessary for healthy mycelium.
Supplies


Essential
- Monotub
- Spawn
- Bulk substrate
- Disinfectant or 70% isopropyl alcohol
- Spatula or spoon
Optional
- Liner
- Nitrile gloves
- Face mask
Steps
Once you have all your supplies ready, you can follow the steps below. If you follow them carefully, you’ll end up with a quickly colonized substrate and a nice harvest.
1. Gather all supplies and break up the spawn
Start by gathering all your supplies. Break up the spawn so the grains loosen nicely. The goal is to distribute the grain spawn as evenly as possible throughout the bulk substrate later.
If you’re using jars, you can loosen the spawn by tapping the jars against a towel or a bicycle tire. For your own safety, it’s a good idea to wear work gloves during this process. There’s always a risk that a jar could break, which can be dangerous.
If you’re using spawn bags, breaking up the spawn is much easier. Massage the spawn gently with your fingers and break it into smaller pieces until all the grains are loose.


2. Add bulk substrate to the monotub
If you’re using nitrile gloves and a face mask, now’s the time to put them on. Disinfect your gloves with disinfectant or alcohol. Then disinfect the monotub, and don’t forget the liner if you’re using one.
Add the bulk substrate to the monotub. The exact amount depends on the size of your tub. Make sure to leave some space for the spawn and possibly a thin casing layer.

3. Add the spawn
Grab your jars or bags of spawn and add them to the substrate. Spread the spawn evenly across the substrate right away — it’ll save you work in the next step.
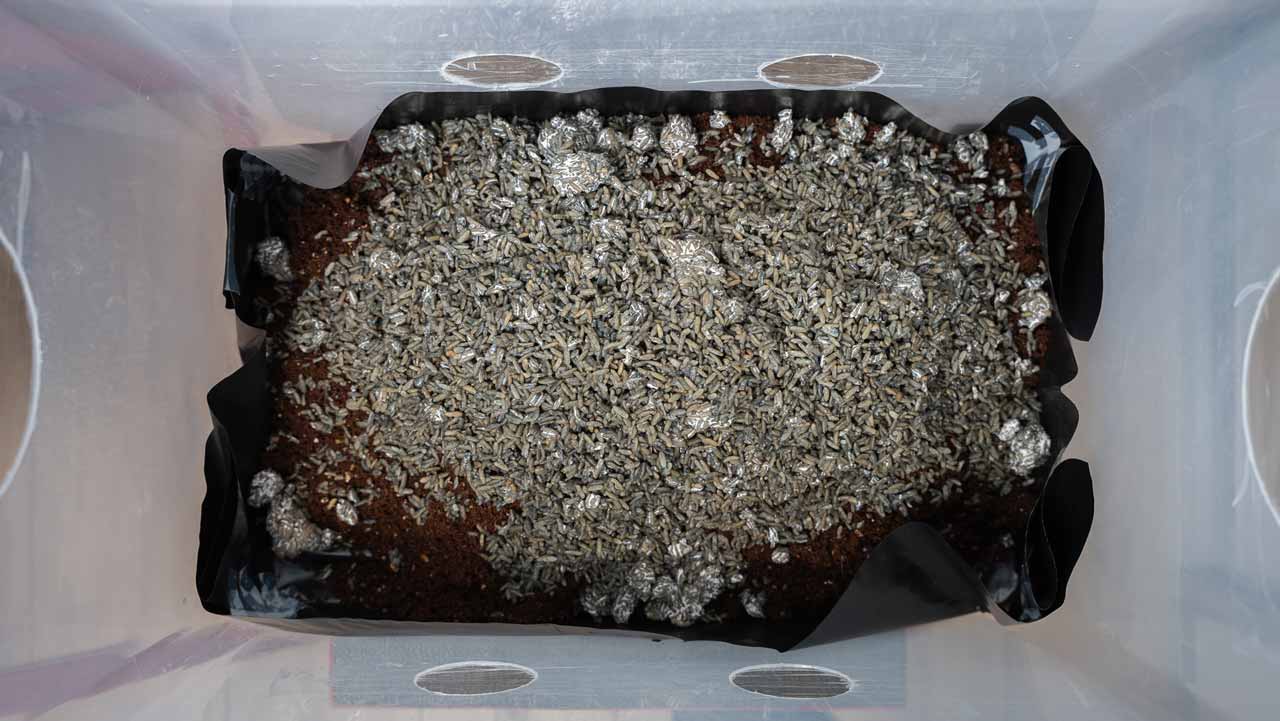
4. Mix the spawn and bulk substrate
Using a disinfected spatula or spoon, mix the spawn thoroughly into the bulk substrate. Break up any clumps of mycelium and spread the grains as evenly as possible.
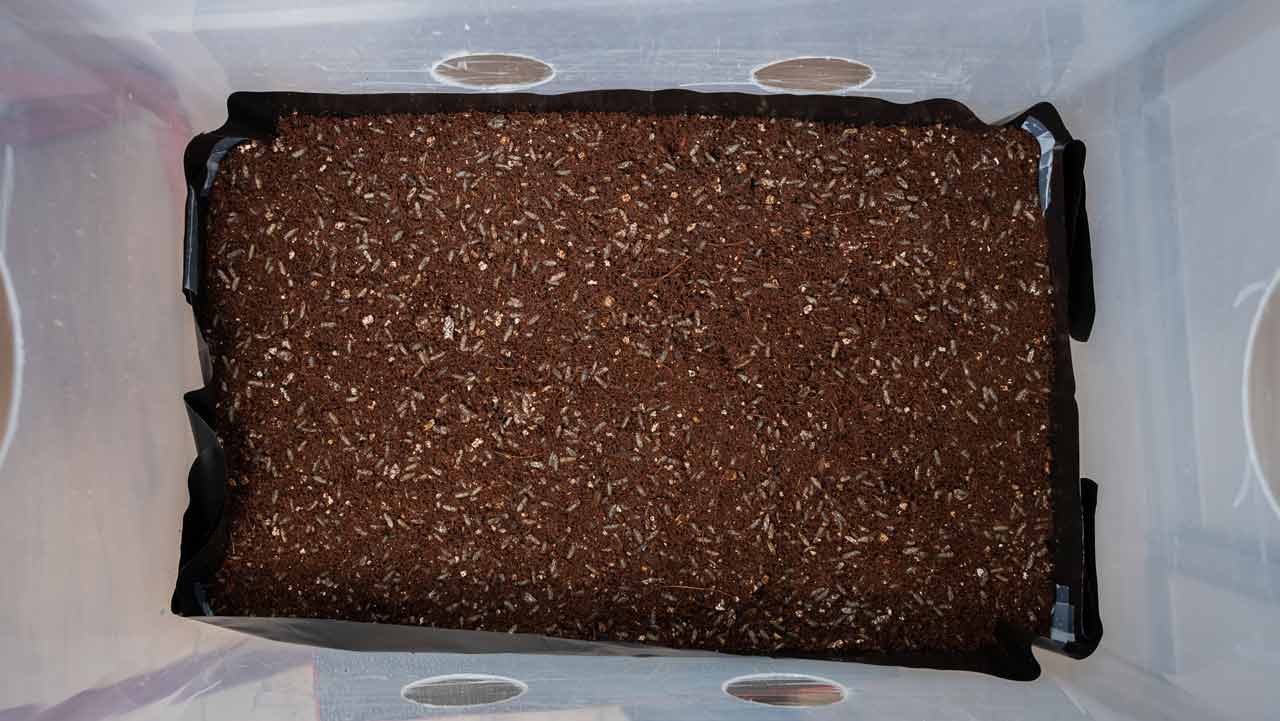
5. (Optional) Cover with a thin layer of bulk substrate
After mixing the spawn and bulk substrate, you can add a thin layer of bulk substrate over the exposed grains. In our opinion, this step is optional and not necessary if the spawn is well colonized. Once colonized, the grains are hardly vulnerable to contamination.
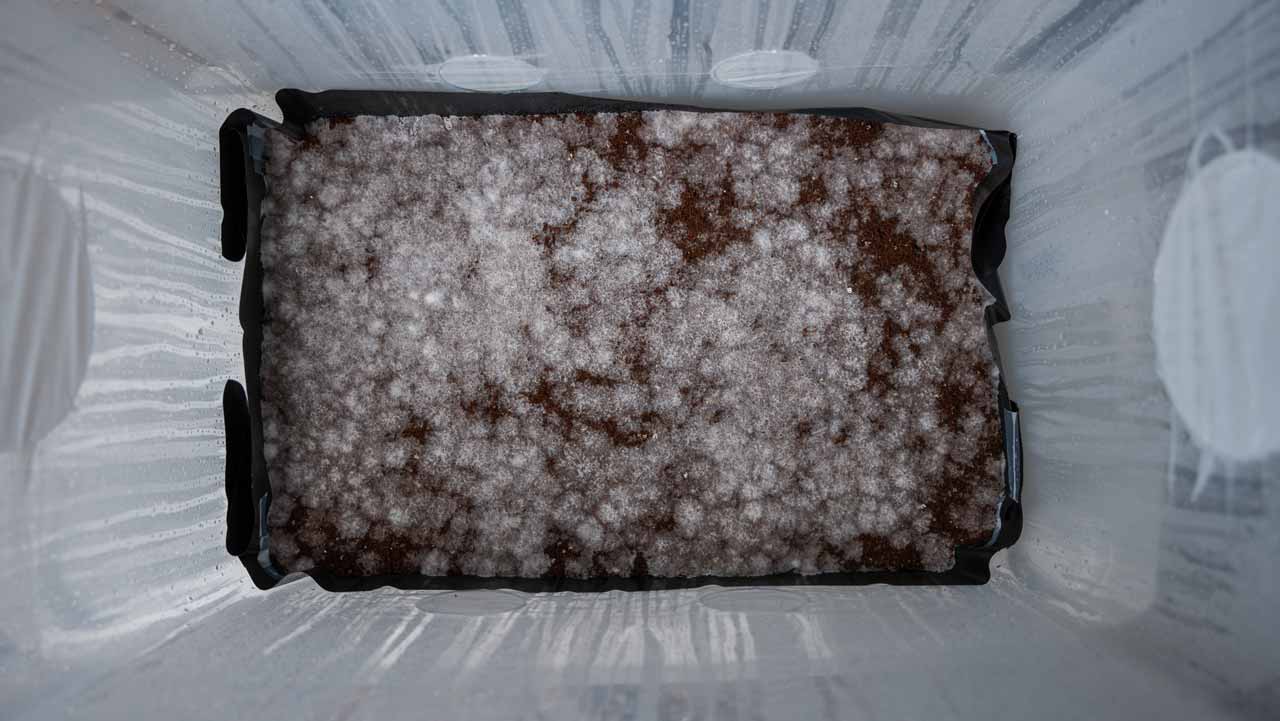
An extra benefit of a thin casing layer is that when you see mycelium growing through the top layer, you know the entire substrate has been colonized. You can then quickly move on to the fruiting phase.

6. Place the monotub in the incubation area and monitor
After mixing, place the lid on the monotub and move the tub to a warm area. Temperatures between 23–25°C usually ensure quick colonization of the bulk substrate.
If that’s not achievable, you can go as low as about 20°C. Colonization should still succeed, but it might take a bit longer.
Keep a close eye on your monotub at all times. If there are signs of contamination, you might still have time to intervene.
7. Trigger fruiting
Once the substrate is fully colonized, it’s time to adjust the growing conditions.
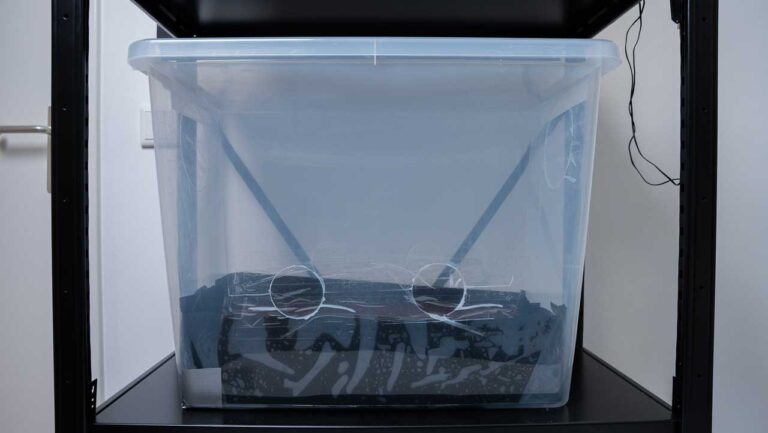
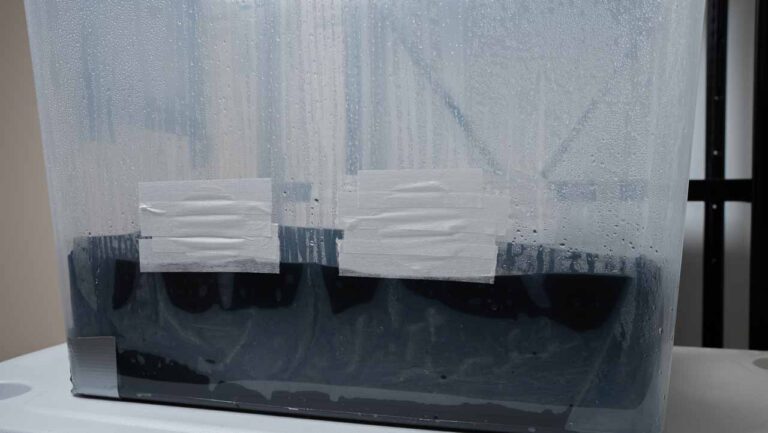
To encourage pinning, it’s important to maintain high humidity, provide enough fresh air, and introduce some light. You can add fresh air by removing the tape from the air holes and replacing it with breathable filter material.
We covered the lower holes with micropore tape and used porous filter material for the upper holes. We chose micropore tape for the lower holes because it lets less air through, helping prevent the substrate from drying out. By using porous material for the top holes, you still get a good natural airflow inside the monotub.
Other materials you can use to cover the air holes include polyfill and special monotub filters.

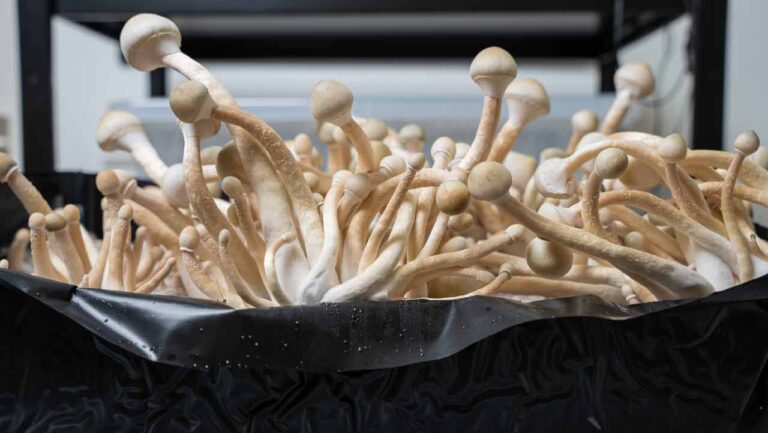
8. Provide fresh air and let it mature
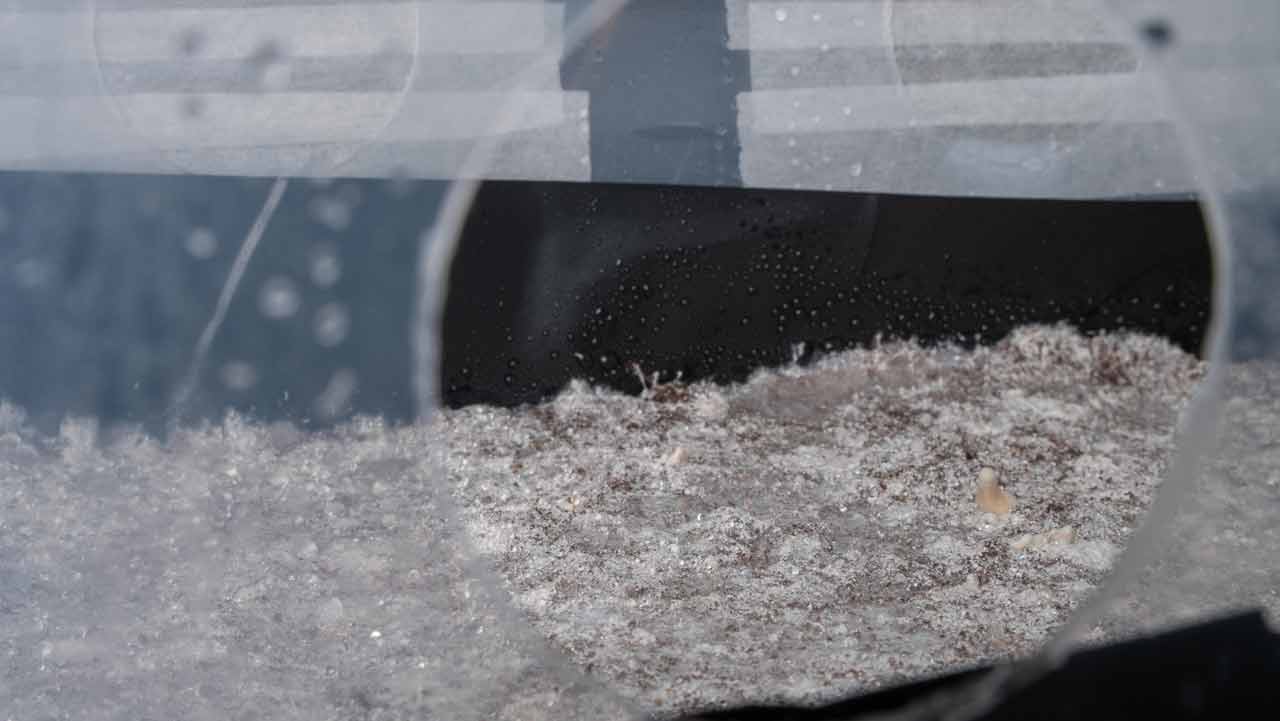
Keep providing enough fresh air and keep a close eye on the substrate. A fluffy texture at the base of the mushroom stems often indicates too much moisture inside the tub.
If this happens, you can slightly lift the lid of the monotub and fan it once to remove excess moisture.
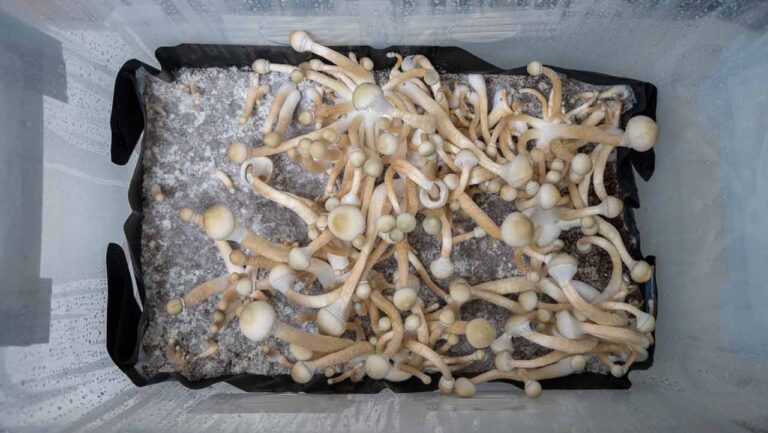

Ready to harvest?
If your monotub grow project has gone well and you’ve produced an impressive mushroom flush, it’s time to harvest.
It’s very important to harvest at the right time — when the caps are still convex, meaning dome-shaped. At this stage, the veils underneath the caps are still intact. This is important because if the veils tear and spores are released onto the substrate, it could prevent future flushes from developing.
For more information, check out our article on harvesting magic mushrooms.