


After harvesting and drying your magic mushrooms, you can use them in a variety of ways. The most obvious way is to consume them whole, but that’s definitely not your only option. You can also combine them with other foods, like chocolate, honey, or lemon juice.
In this article, we’ll show you step by step how to best incorporate magic mushrooms into chocolate and easily make your own creations.
Table of Contents
Why make magic mushroom chocolate?
Chocolate is a great choice for incorporating magic mushrooms for several reasons:
- Finely ground magic mushrooms mix easily with melted chocolate
- The low melting temperature of chocolate helps preserve the active compounds, like psilocybin and psilocin
- The taste of chocolate effectively masks the flavor of the shrooms
- The active compounds in magic mushrooms stay preserved in chocolate for a long time, making it suitable for storage
- The standard block division of chocolate bars makes dosing easy
- The discreet appearance of chocolate doesn’t attract much attention

What’s the best chocolate to use?
Unfortunately, there’s no single answer to that question. We prefer high-quality dark chocolate, although that’s not always the most practical choice. Real chocolate is best tempered during processing and softens quickly at higher temperatures.
That’s why, in this article, we’ve chosen candy melts — a product typically used for decorating baked goods like cakes and cupcakes.
Technically, candy melts aren’t real chocolate, but they can be processed in the same way. This is important, because it means you don’t need to heat them to high temperatures — preserving the active compounds in the magic mushrooms.
To give you a clearer idea of the pros and cons of both options, we’ve put together a comparison below.
Chocolate vs. Candy Melts: A comparison
| Chocolate | Candy Melts |
|---|---|
| ✅ Often tastes better than candy melts | ✅ More resistant to high ambient temperatures |
| ✅ May mildly enhance the effect of psilocybin | ✅ Available in various colors |
| ✅ Longer shelf life (especially dark chocolate) | ✅ No tempering needed like with chocolate |
| ✅ Can be melted in the microwave or with a double boiler | |
| ✅ Cheaper than quality chocolate chips |
What are the best candy melts?
For this article, we tested two different brands: Wilton and Super Streusel. Although we slightly preferred the taste of Super Streusel, our favorite is still Wilton.
The reason is that Wilton hardens just a bit better in our experience and produces a neater, shinier end result. A firmer bar also means it’s more resistant to warmer conditions.
How to make magic mushroom chocolate
Below, we describe two ways to make magic mushroom chocolate. The difference lies mainly in how you melt the chocolate: using a microwave or a double boiler. Candy melts can be melted both ways. Chocolate, on the other hand, is best melted using a double boiler.
What you’ll need


- Chocolate chips, bars, or candy melts
- Dried shrooms
- Coffee grinder
- Whisk or spoon
- Chocolate mold
- Microwave or saucepan with a metal bowl (double boiler setup)
- Precision scale
- Fridge or freezer
How much chocolate do you need?
In some cases, manufacturers or sellers of chocolate molds mention a specific fill weight on their product page. In practice, however, it’s often a matter of trial and error to figure out the right amount.
Also, keep in mind that some chocolate will always remain in the melting bowl; it’s nearly impossible to get every last drop out.
The amounts we used in this article were:
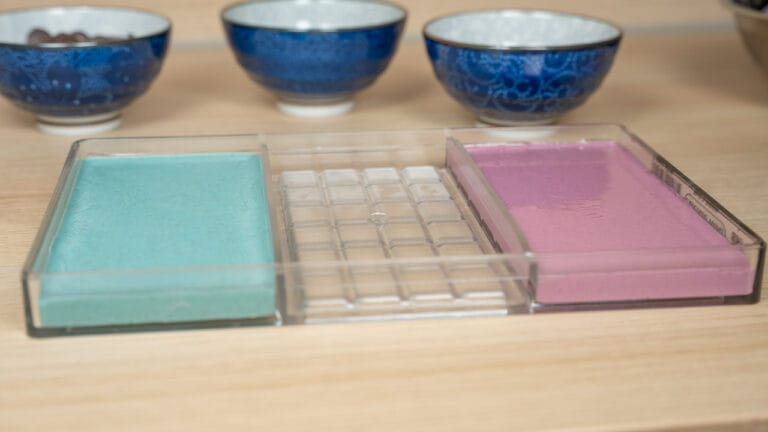
- 125 grams for the solid-colored bars made in the shallow mold.
- 150–175 grams for the two-tone bar made in the deeper mold.
Method 1: microwave (candy melts)
For the first method, we use a microwave to melt the candy melts. This is the standard method recommended by candy melt manufacturers. It’s easy, and you don’t need anything besides a microwave and a suitable bowl.
1. Weigh the desired amount of magic mushrooms
Start by determining how many grams of magic mushrooms you want to use in your chocolate. This usually depends on how you want to use the chocolate.
Are you making chocolate for microdosing? Then don’t use too much powder, so that each square equals a microdose.
Bars made with chocolate molds often contain 24 squares. For microdosing, you can aim for 0.15–0.3 grams of powder per square. That comes down to 3.6–7.2 grams of ground magic mushrooms per bar.
Making a bar for deeper trips? Then there are no fixed guidelines — just use whatever amount you feel is appropriate.

2. Grind the shrooms into a fine powder
Once you’ve weighed the right amount of magic mushrooms, grind them into a fine powder. An electric coffee grinder is ideal.
Since magic mushrooms can vary quite a bit in potency, we recommend grinding the largest batch possible. That way, you homogenize the entire mix and create a more consistent strength.


3. Divide the powder into the right portions
If you’ve prepared more magic mushrooms than you need, measure out the exact amount for one bar and set it aside. For our chocolate bars, we use 6 grams per bar.

4. Melt the candy melts in the microwave
Now that your magic mushroom powder is ready, it’s time to melt the candy melts in the microwave. Follow the instructions on the package.
Keep in mind that you may need to extend the melting time a little. Always do this in short steps so the melts don’t overheat and you stay in control of the process.
Also note that exact melting time may vary depending on the type and wattage of your microwave.


5. Mix the magic mushroom powder into the chocolate
Once the candy melts are (partially) melted, remove the bowl from the microwave. Stir the mixture gently with a spoon or whisk until smooth. Then add the magic mushroom powder and stir it in carefully so it’s fully incorporated. Give the chocolate a moment to absorb the powder completely.


6. Pour the shroom chocolate mix into the mold and spread evenly
When the chocolate has fully absorbed the powder and has a smooth consistency, you can pour the mixture into your chocolate mold. Do this slowly, allowing the chocolate to fill the mold naturally.
To ensure the mold is completely filled, spread the mixture evenly with a spoon or spatula. Then tap the mold gently on your work surface to let any air bubbles rise to the top.


7. Let it set in the fridge or freezer for about 15 minutes
Finally, let the chocolate set for about 15 minutes in the fridge or freezer. That’s usually enough time to safely remove the bar from the mold in one piece.

Method 2: double boiler (chocolate and candy melts)
For the second method, we use the double-boiler technique. In this method, you heat a small amount of water in a pan, then place a metal or stainless steel bowl on top of the pan.
The steam from the hot water heats the bottom of the bowl, allowing you to melt chocolate gently at a low temperature.
Here’s how:
1. Heat water, place melting bowl on top, and add chocolate
Start by filling a pan with a layer of water. Make sure the water doesn’t touch the metal bowl you’ll place on top. The bowl should be heated by steam — not direct contact with the water.
Place the pan on the stove and bring the water to a boil. Then turn off the heat and place the bowl on top. Add the chocolate.


2. Melt the chocolate while stirring
Once the chocolate is added, you’ll notice it starts melting fairly quickly. Stir gently until the chocolate has a smooth, even consistency — this usually takes a few minutes.
You’ll then have about ten minutes to mix in the magic mushroom powder and pour the mix into the mold.


3. Add the magic mushroom powder and mix well
Add the measured amount of magic mushroom powder to the melted chocolate. Stir slowly and avoid whisking too vigorously — this helps prevent air bubbles. Keep in mind the chocolate needs a little time to fully absorb the powder.


4. Pour the chocolate mixture into the mold
Once the chocolate has fully absorbed the magic mushroom powder and you have a homogeneous mixture, pour it slowly into the mold. Try to distribute the chocolate as evenly as possible while pouring.
Spread the mixture further if needed with a spoon or spatula. Finally, tap the mold a few times gently on your work surface to remove any air bubbles.


5. Let it set in the fridge or freezer for about 15 minutes
Let the chocolate, just like in the first method, set in the fridge or freezer for around 15 minutes. Letting it harden a little longer is totally fine too.

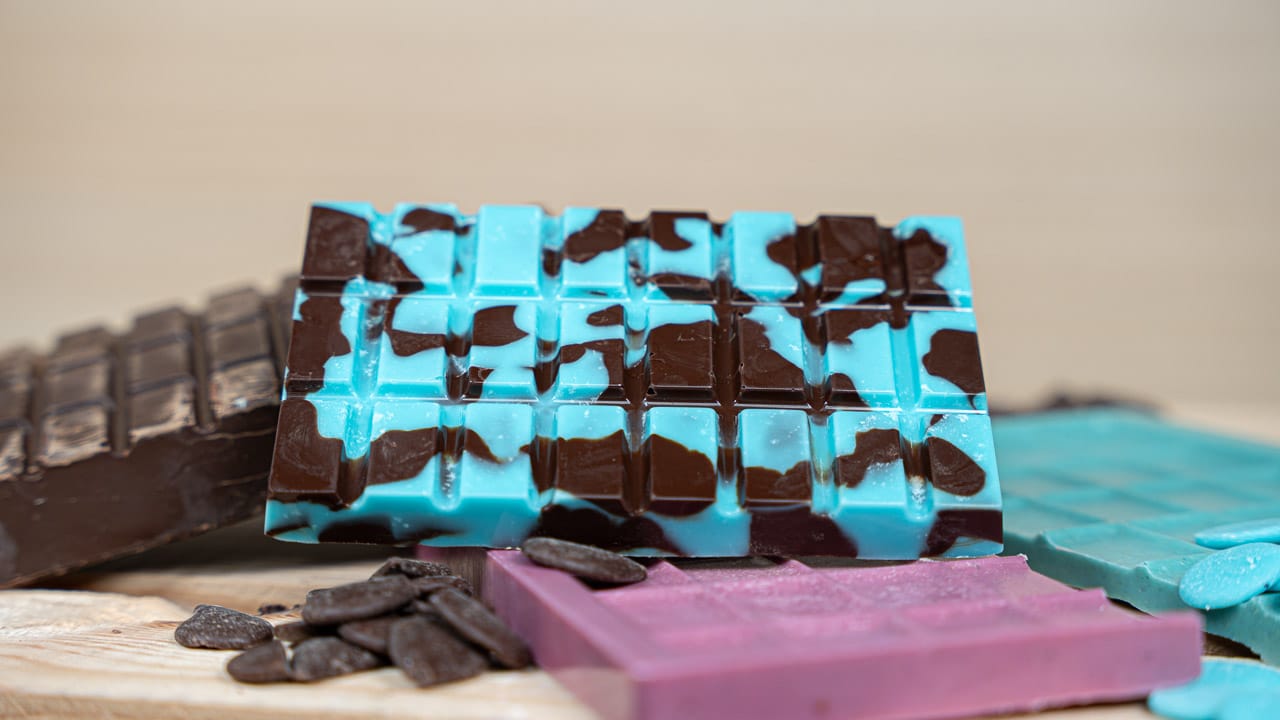
Bonus tip: super funky shroom chocolate
For an extra funky result, you can combine multiple colors or types of chocolate — like dark and white — in one bar. Just make sure to distribute the magic mushroom powder evenly among the different types or colors. That way, each square will contain the same amount of active compounds, making dosing much easier.
Storing your homemade shroom chocolate
Once your chocolate is ready, store it under optimal conditions: dry, dark, and cool (but not in the fridge).
Ideally, place the chocolate in an airtight container. This protects it from moisture and unwanted odors, which it can easily absorb.
To get the best shelf life, use these guidelines:
- Dark chocolate: 1–2 years
- Milk chocolate and candy melts: 6–12 months
Also, make sure the chocolate is stored securely at all times to prevent hungry friends or family from eating it by accident. You definitely don’t want anyone unintentionally ending up on a trip!
Start making your own magic mushroom chocolate today
Now that you know how to make your own magic mushroom chocolate, it’s time to get started. Gather your materials, choose your preferred chocolate, and start melting. After that, you can jump right into making your own creations.
Have fun and good luck!